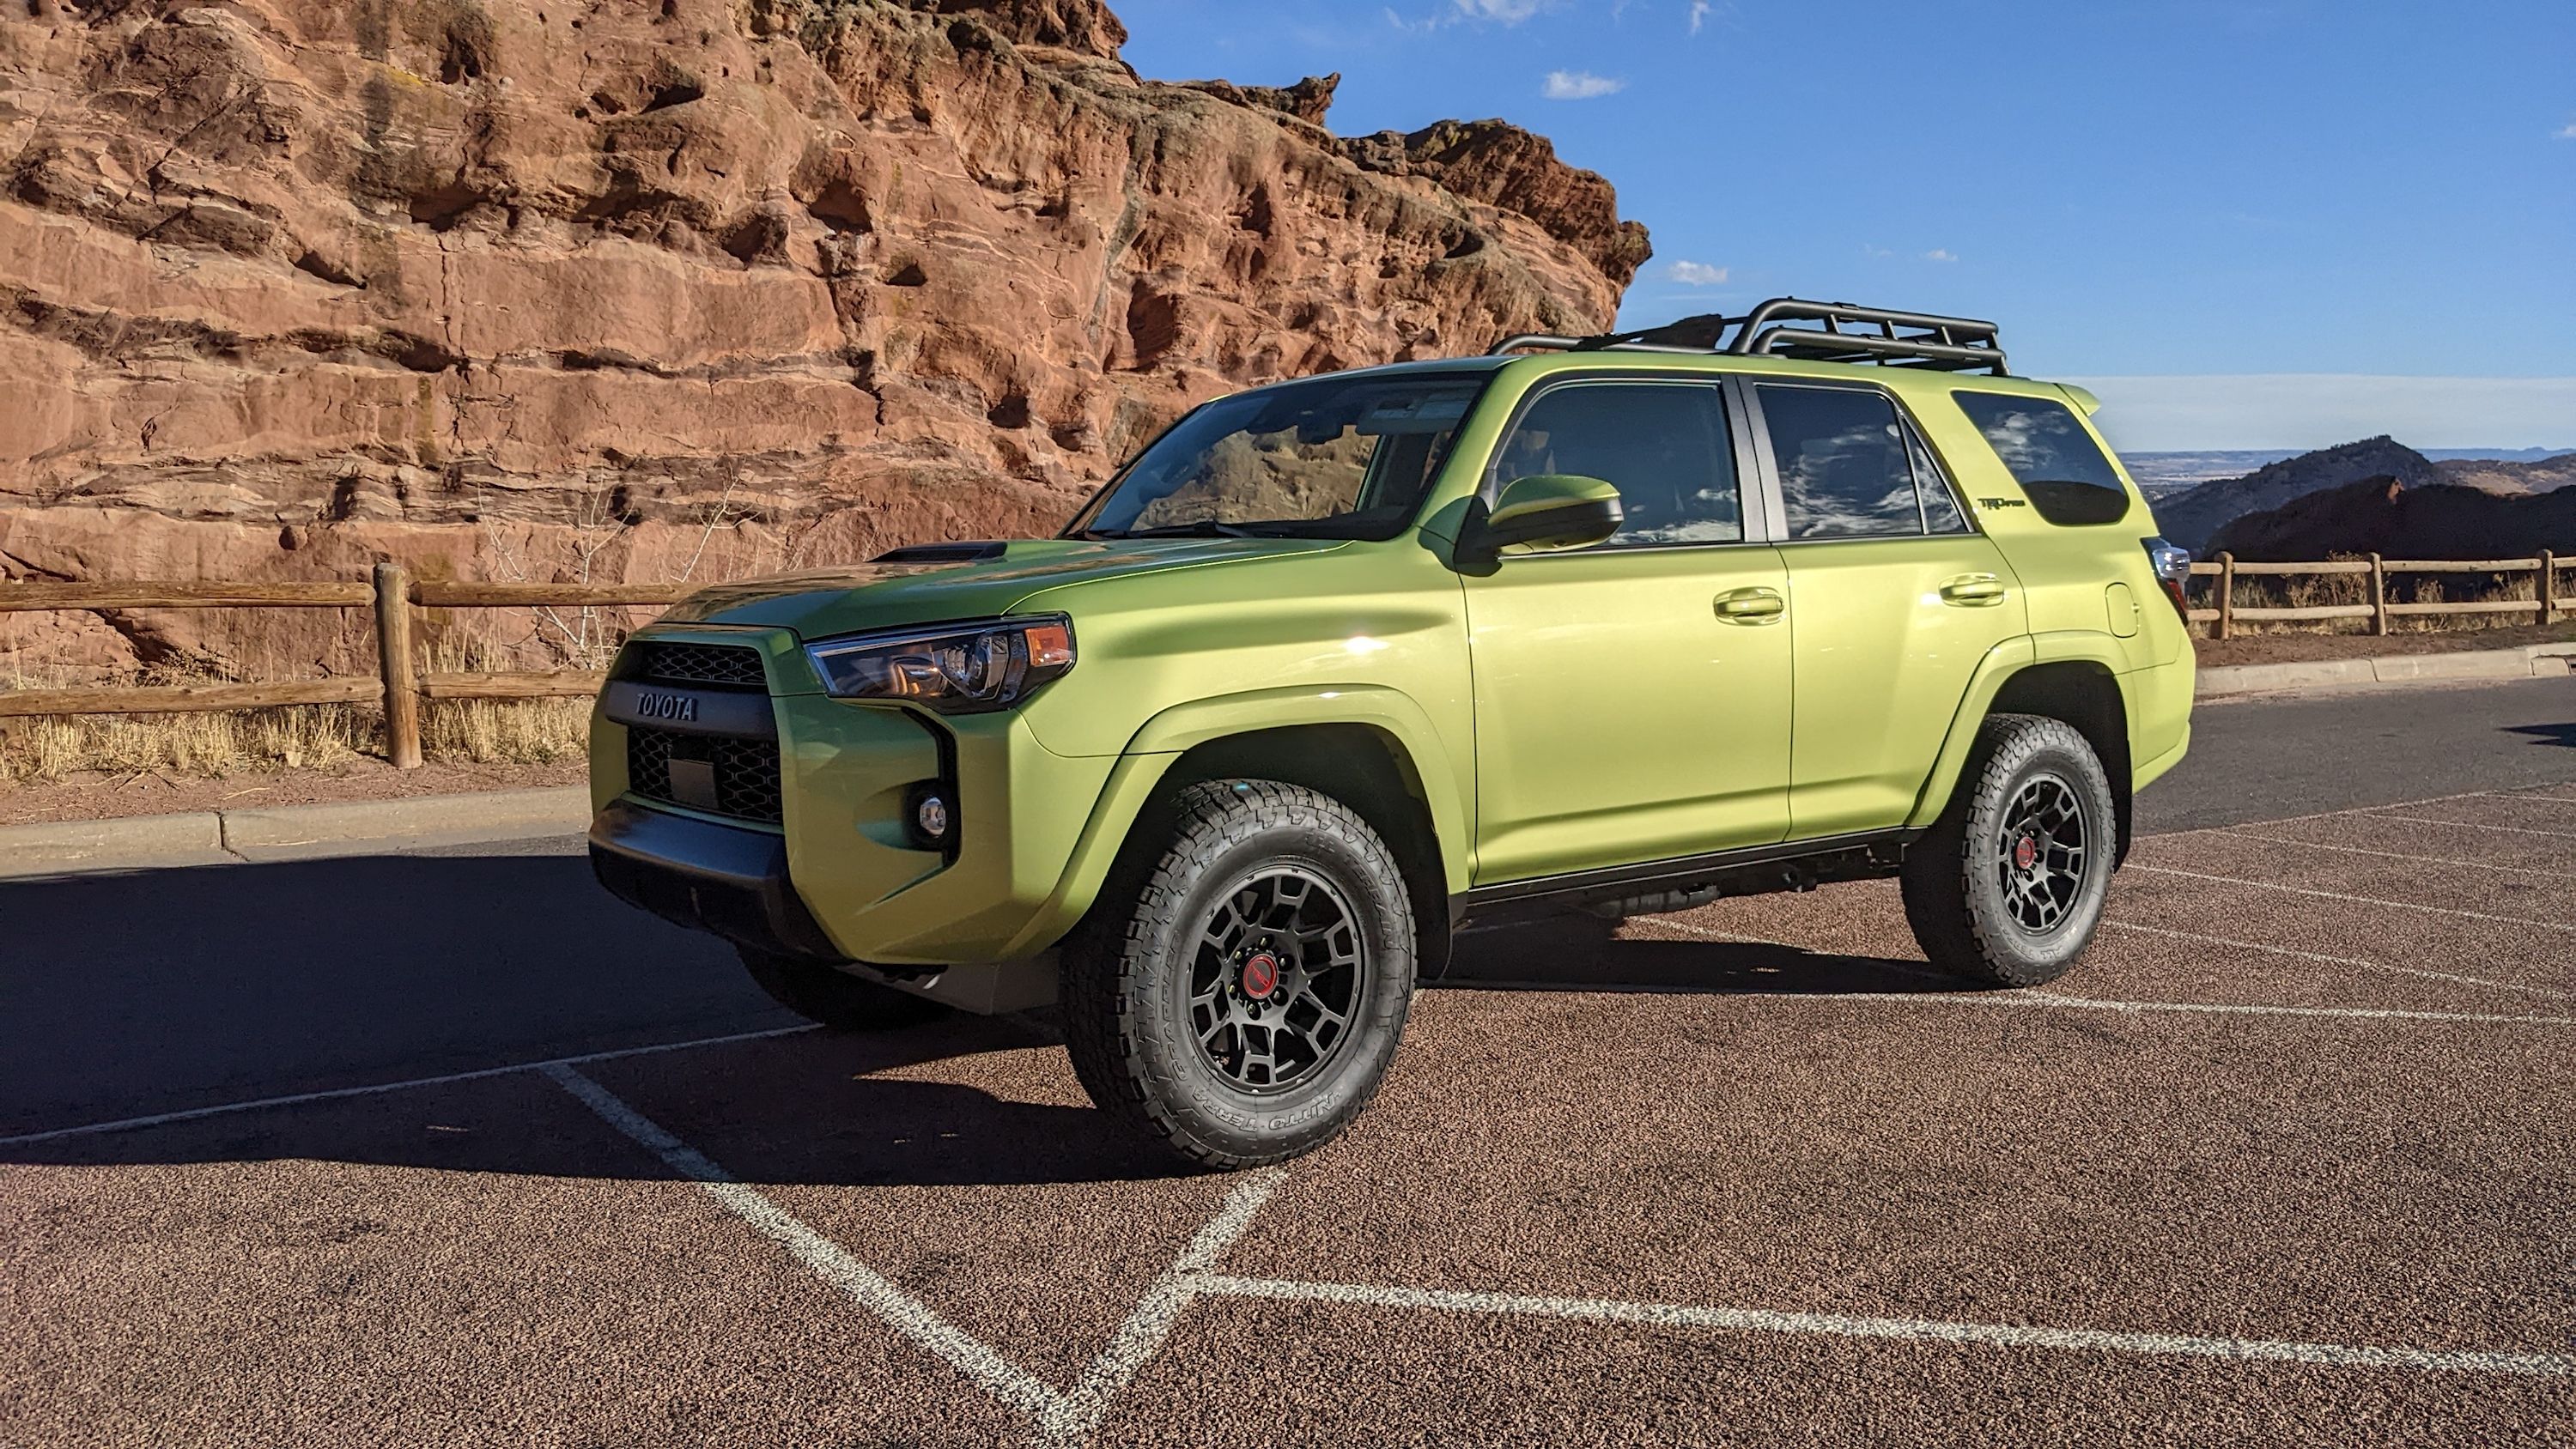
Few things are as annoying as getting back to your car in the parking lot to find that someone has dinged their door against your Toyota 4Runner, leaving a paint scratch on the car, or let a shopping cart scrape the bumper of your beloved Audi A5. We've probably all experienced this and wondered about various ways to remove scratches from your car.
There are many causes of paint scratches on your car, from stone chips to malicious ex-girlfriends, but how do you tell what kind of scratch you have and what to do about it? Simply put, you get surface scratches and deep paint scratches, each of which has its own process for repair. Some damage can be sorted out at home, while others will require professional attention that a DIY scratch repair may even worsen. In this article, we'll discuss how to determine which is which and how to sort them out.
Please keep in mind that all kinds of scratch removers are actually paint removers, and too much enthusiasm or carelessness can cause burnt paint or even the total loss of any paint in an area. Older cars with single-stage paint are especially prone to damage but are also easy to buff, so take your time with every step. This is not a comprehensive detailer's guide either, although most of the basic principles are covered under the repair of surface scratches.
Tools and Consumables You Will Need
First up is a list of items to keep around the house if you intend to remove scratches from your vehicle. Remember that these items are those that are easily available for the DIY enthusiast and will not cover all the items required for correcting severe damage. The tips and tricks presented here are also not guaranteed to work in every instance and can cause more damage if followed incorrectly.
Safety
Although these are jobs that are meant to be simple to carry out, you need to consider your safety and that of the environment. Always wear protective clothing and a filtered mask when sanding or painting. Use gloves when polishing or painting too, or you'll risk an allergic or otherwise adverse reaction on your skin. Finally, consider the environment and dispose of empty canisters safely. Try to avoid letting contaminants from washing the car or any other process from getting into nature and ensure that pets are kept out of harm's way too.
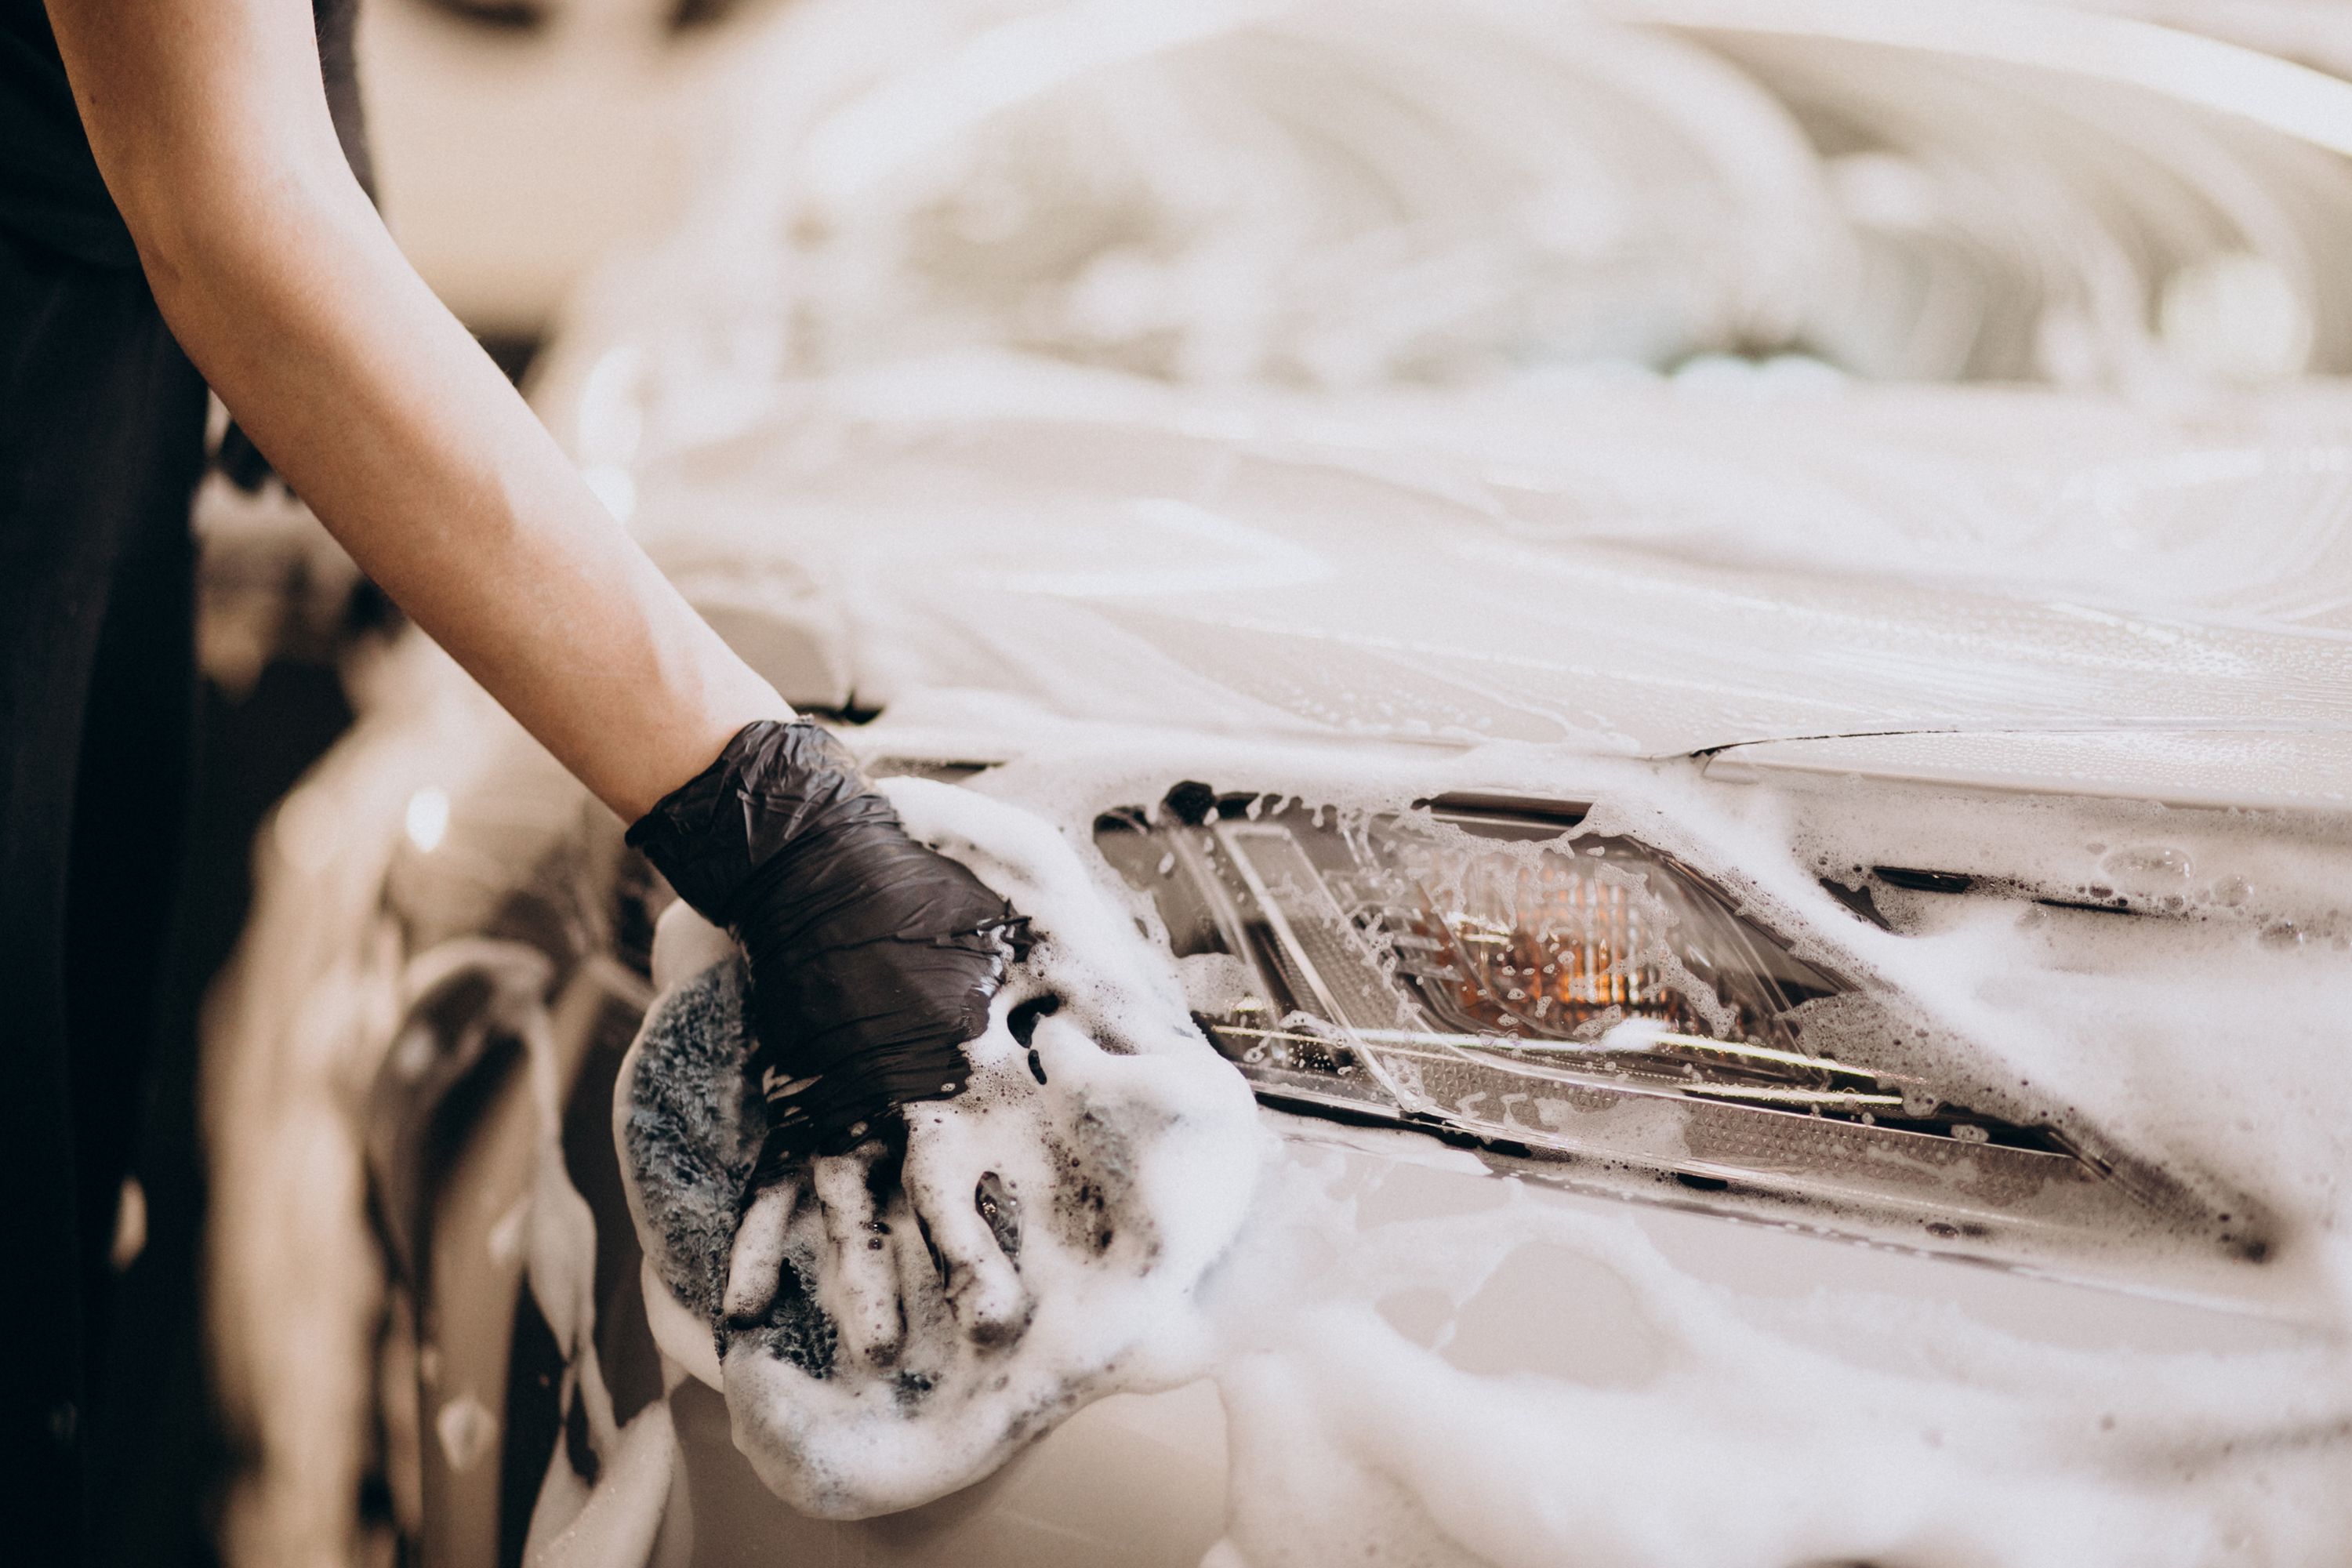
Car Shampoo
This is one of the first items you'll need as you must remove contaminants and dirt from paintwork before applying fresh paint or polishing existing paint. Additionally, you will want a clay bar and an iron remover to strip the paint of deeper and less visible contaminants. Remember that a clay bar that has been dropped will cause extreme damage, so use small pieces and fold the bar over regularly - avoid scrubbing in circles, and make use of appropriate lubrication. With iron removers, be careful of how long you leave the fluid to dwell, as this product is very harsh on plastics and paint and should be rinsed off before it begins to dry.
Polisher and Pads
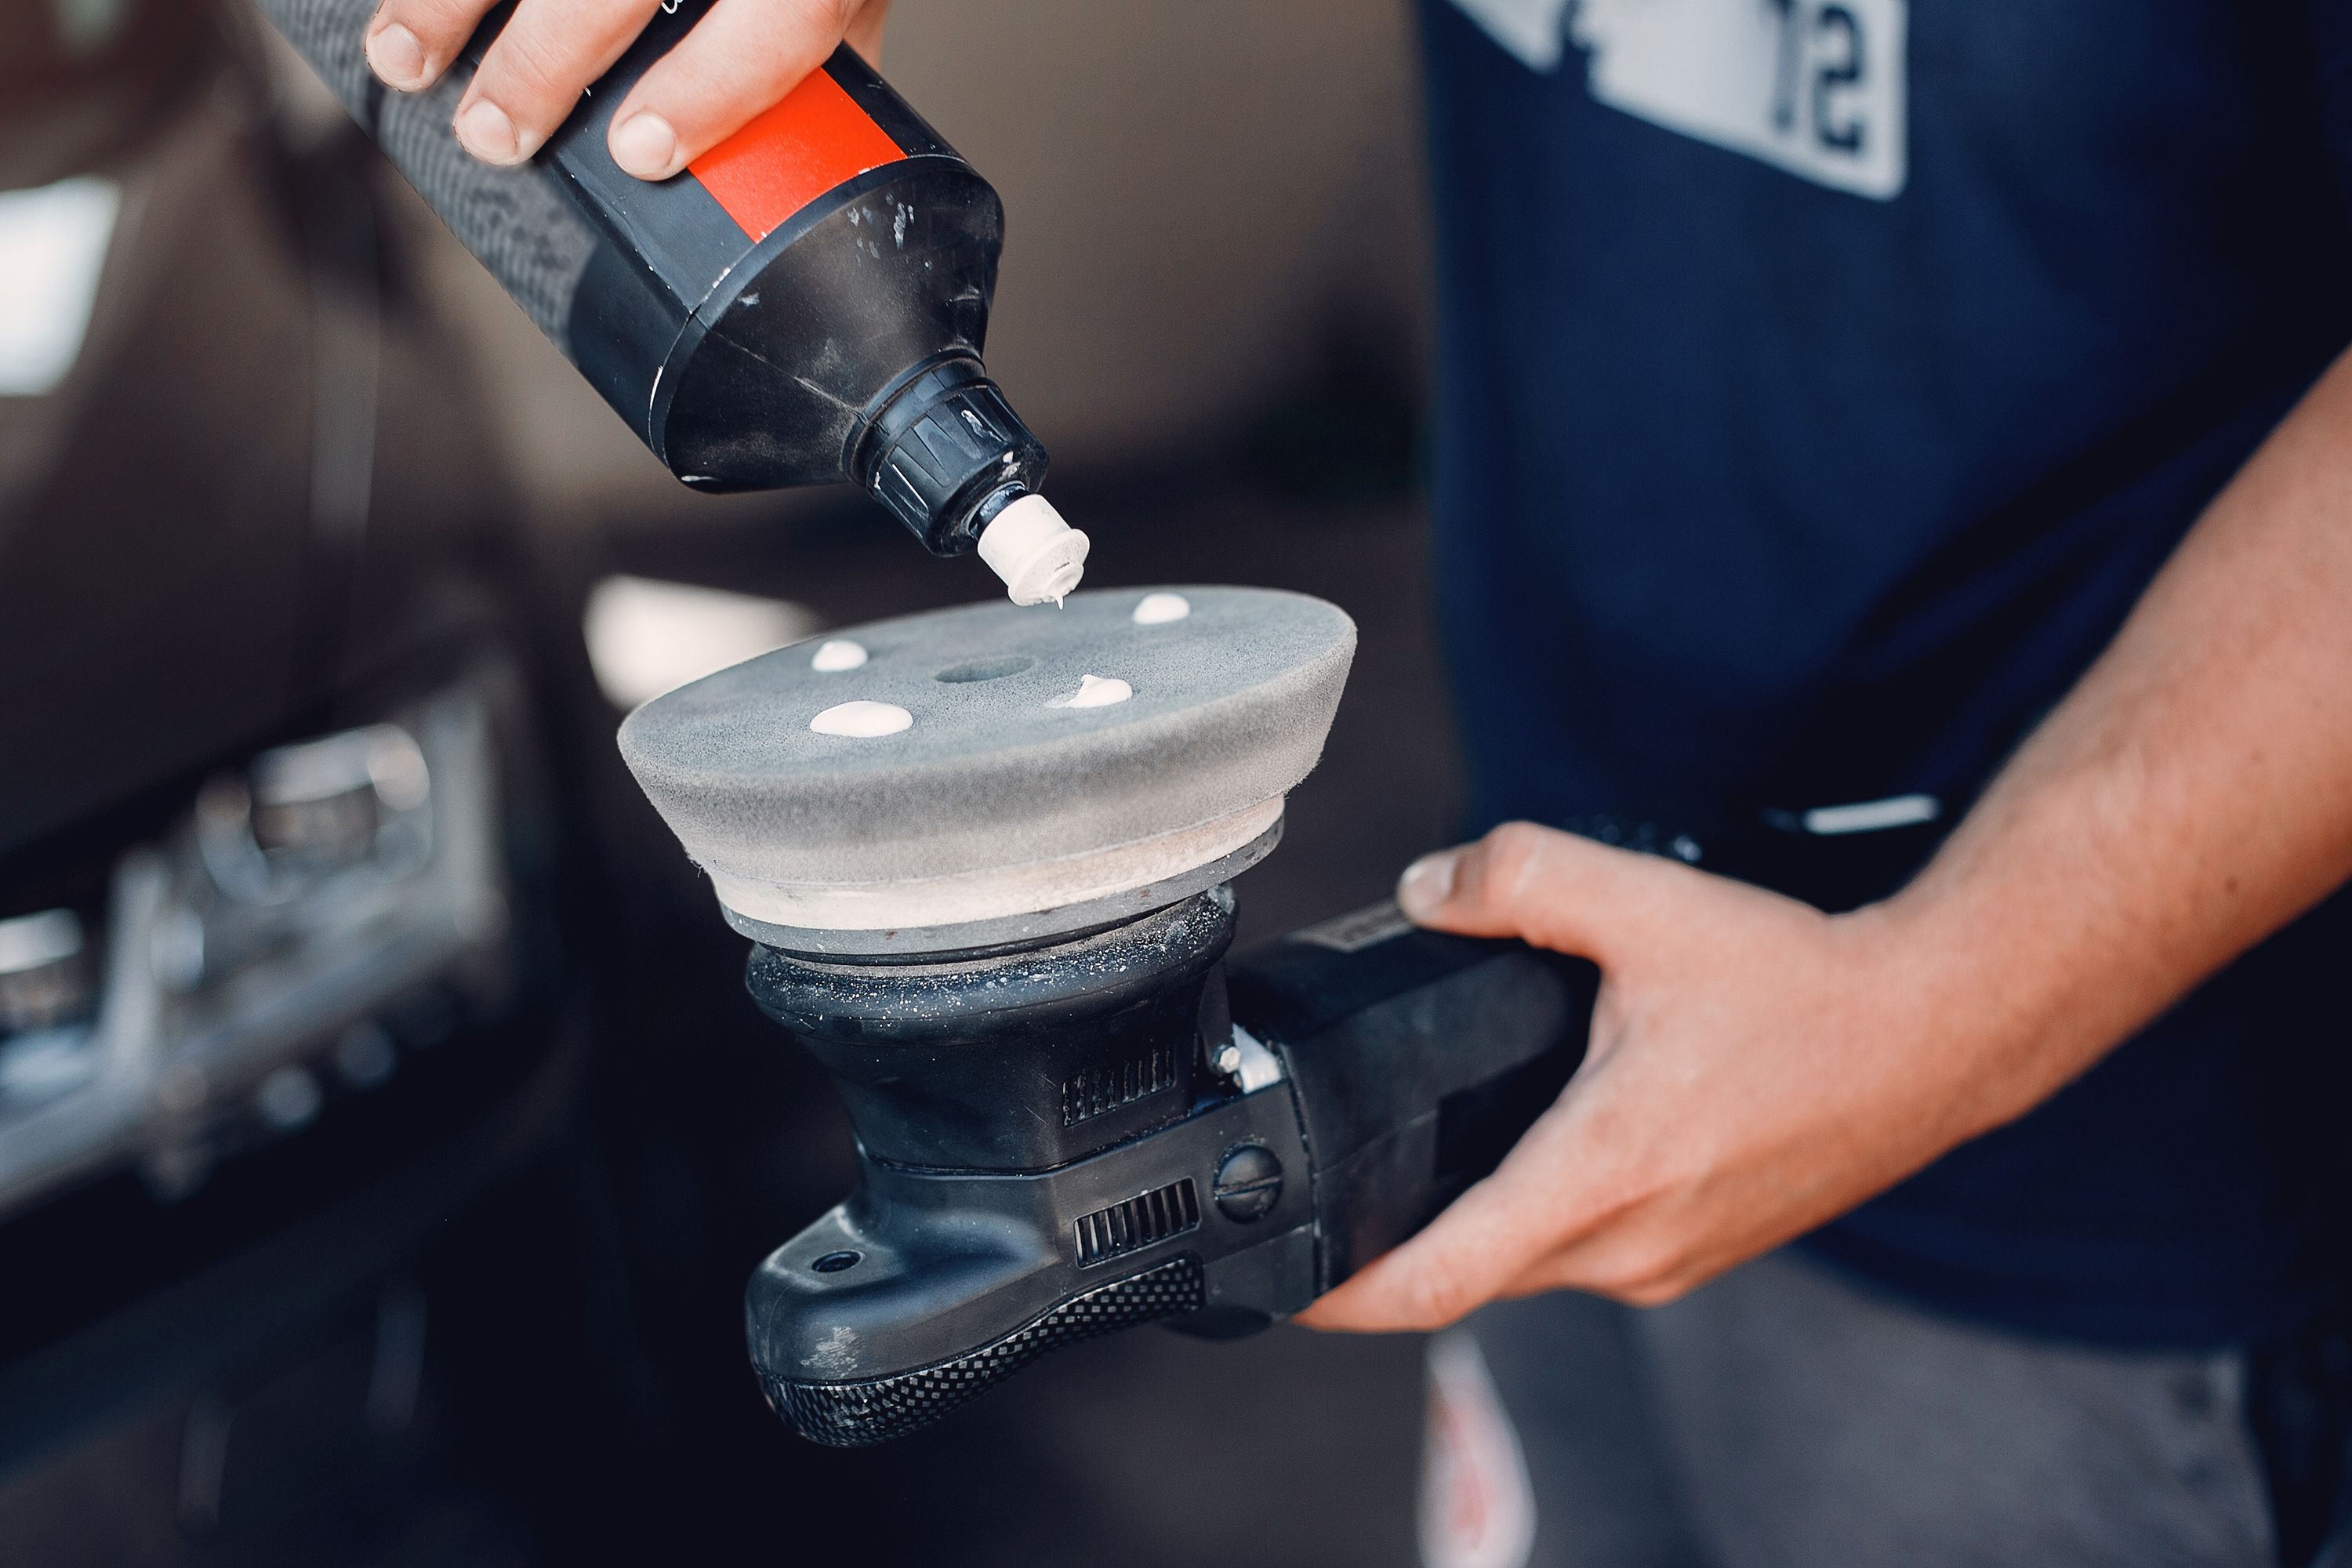
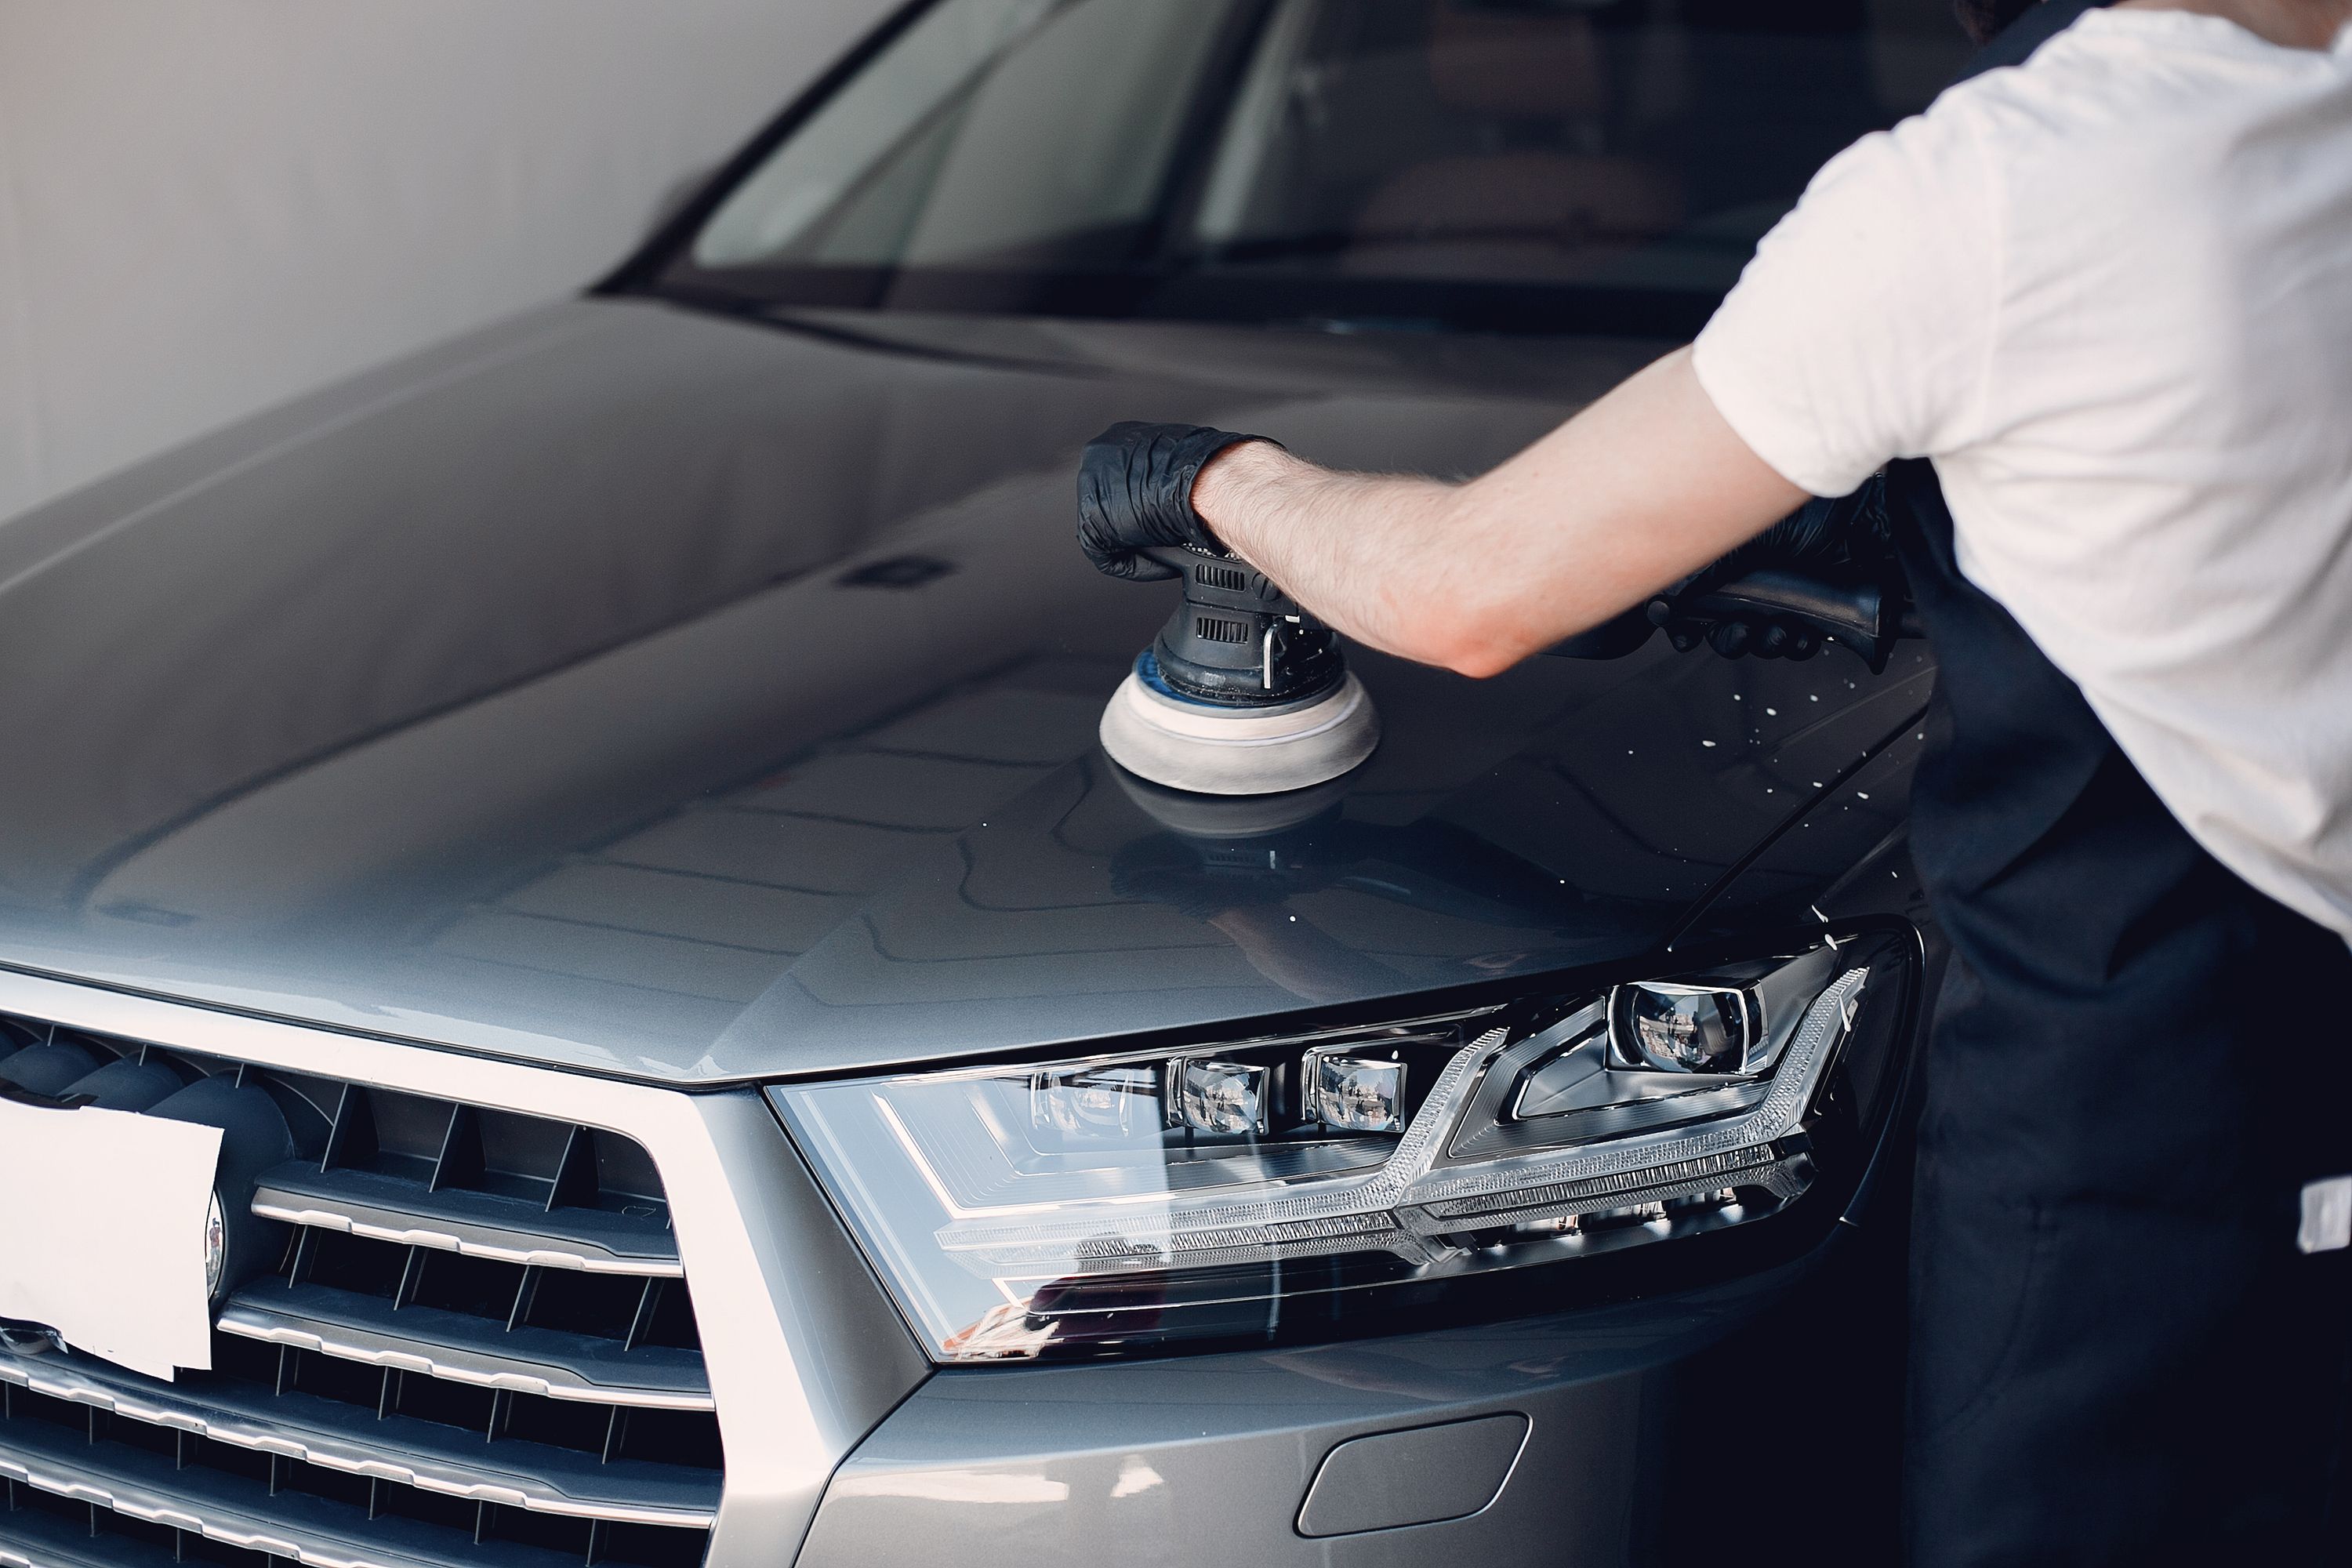
A dual-action polisher is best recommended, but with patience and practice, a rotary polisher can be just as effective a tool at removing surface scratches on a car, and can even work better with deeper abrasions. Either one will require practice and time to master, and incorrect use can cause damage to the paint, so maintain an even pressure and ensure that the pad is being kept flush with paint - not offset.
Various Polishing Compounds
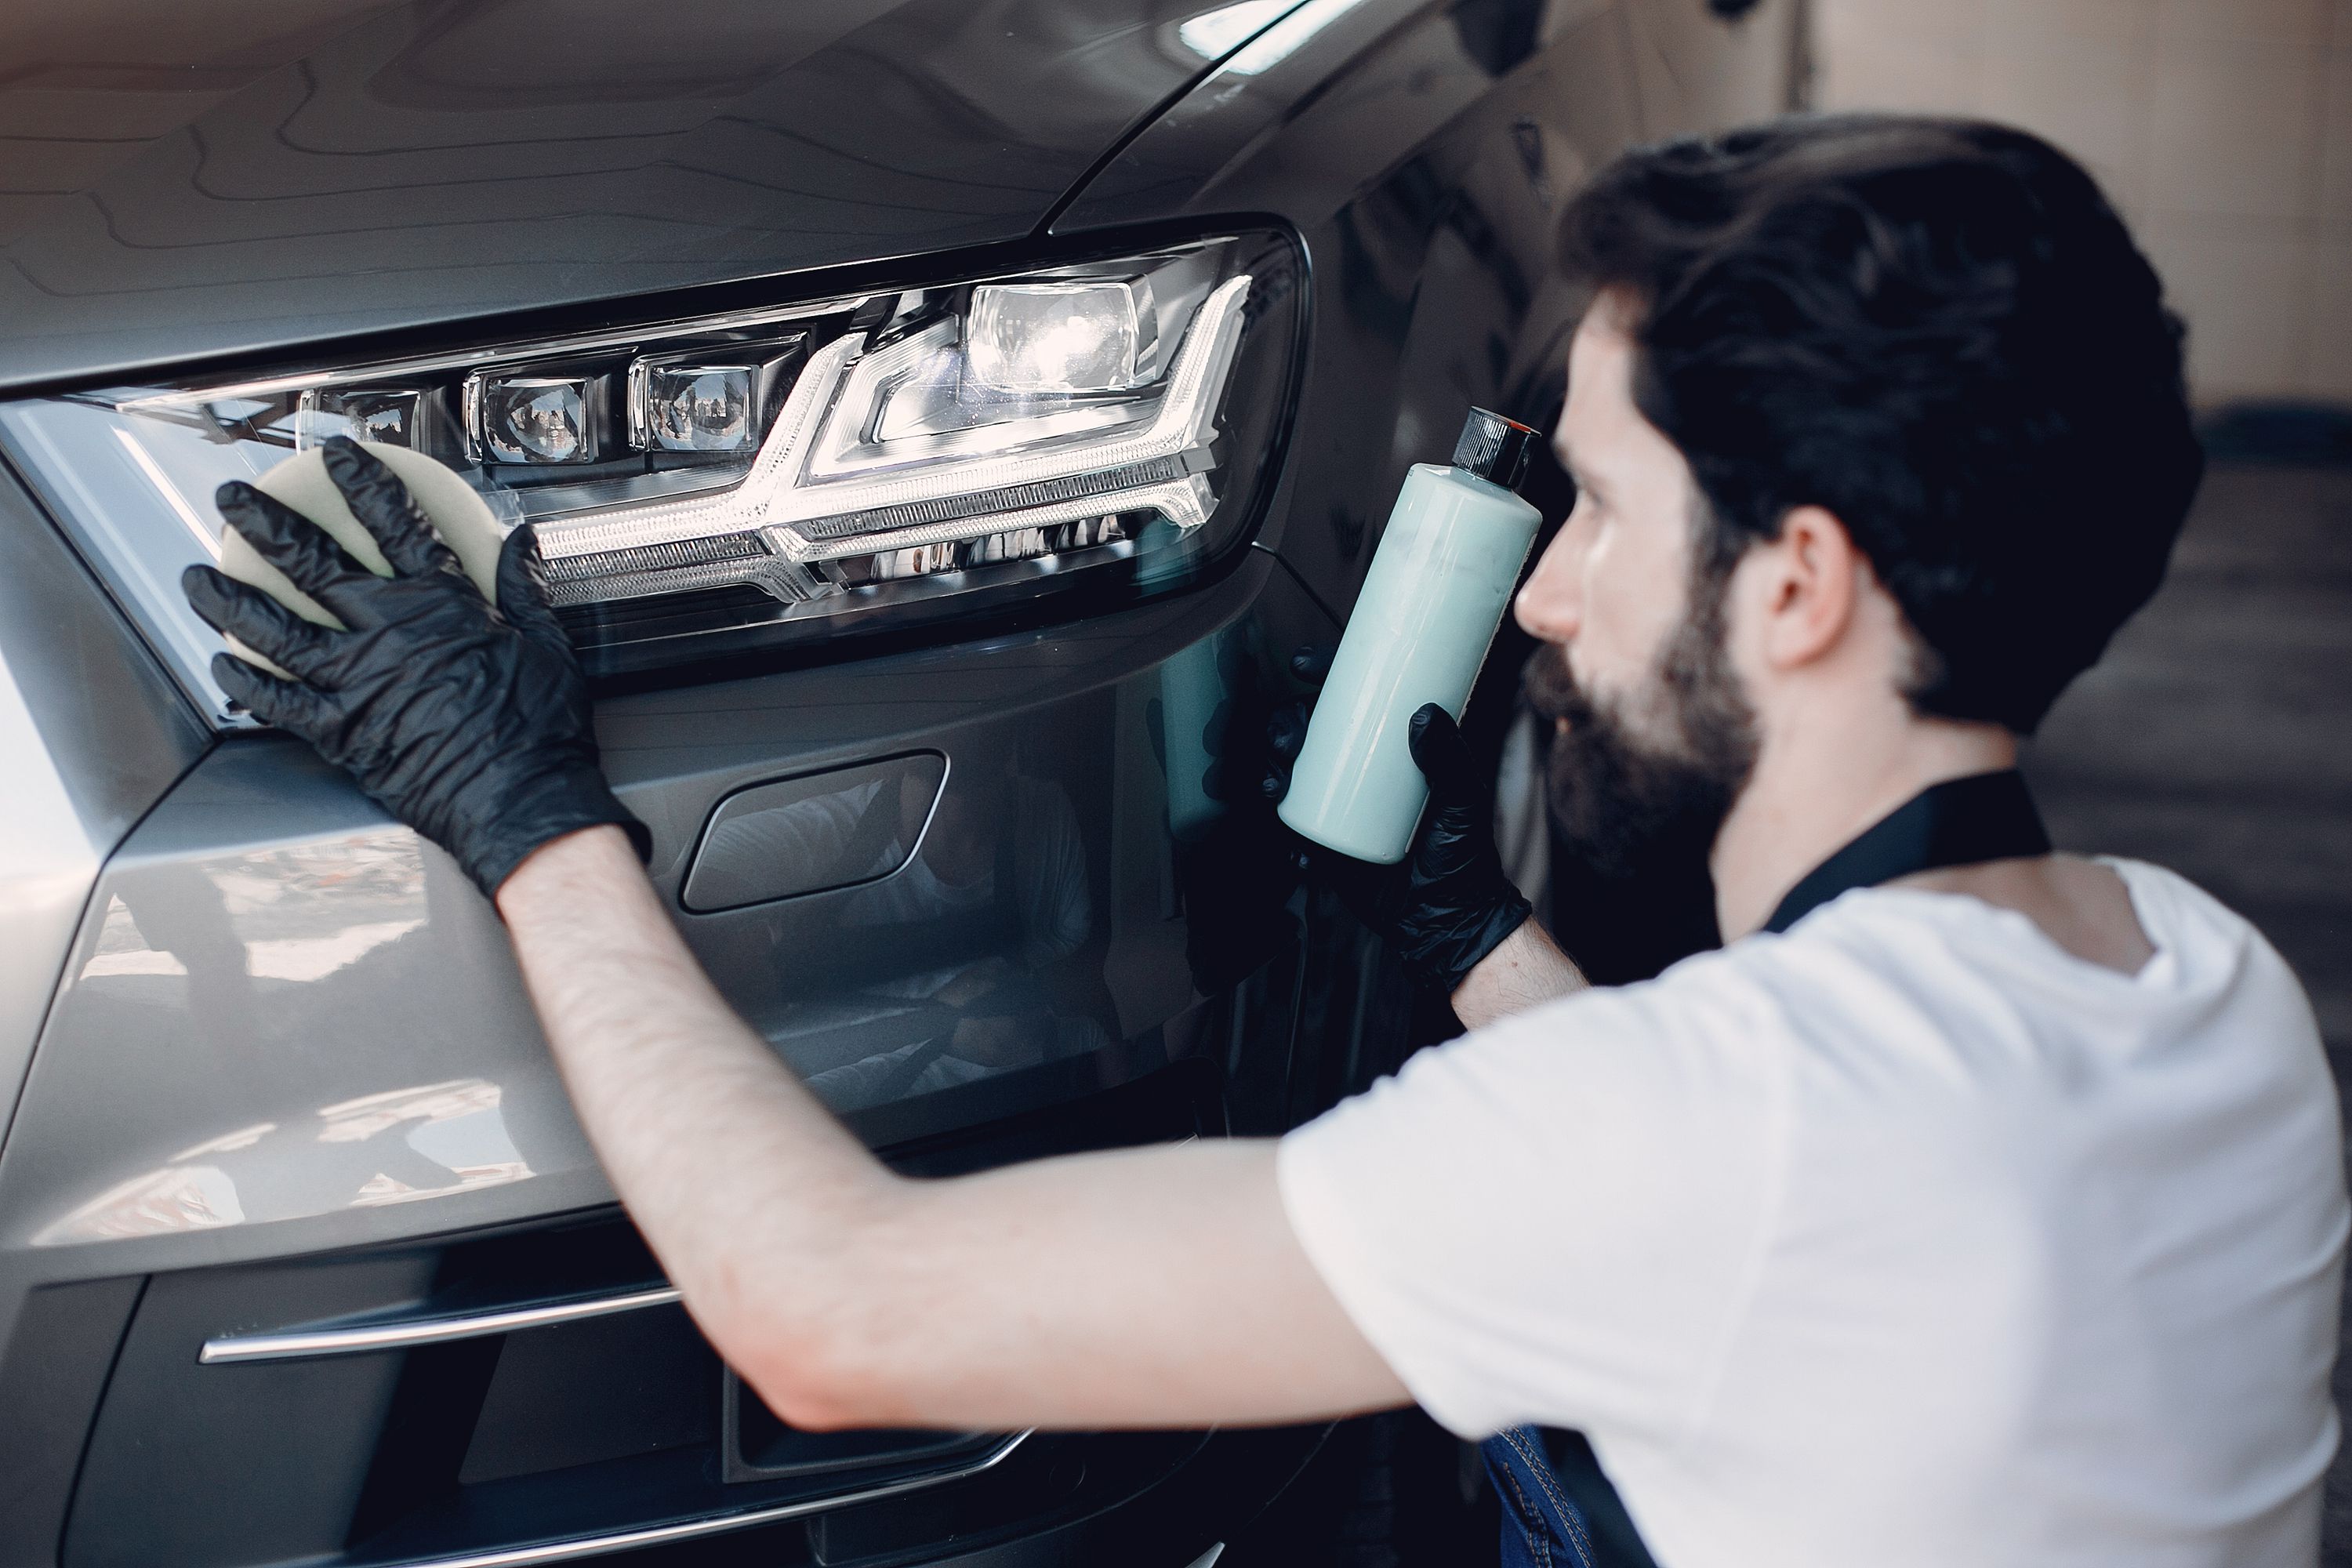
Different types of polishes are used for different steps of the detailing process, from cutting to buffing to polishing and refining. Choose a very abrasive compound for cutting, a mild one for polishing, and a fine one for refining. Make sure you use the correct one and get someone with experience to guide you, if you are unsure.
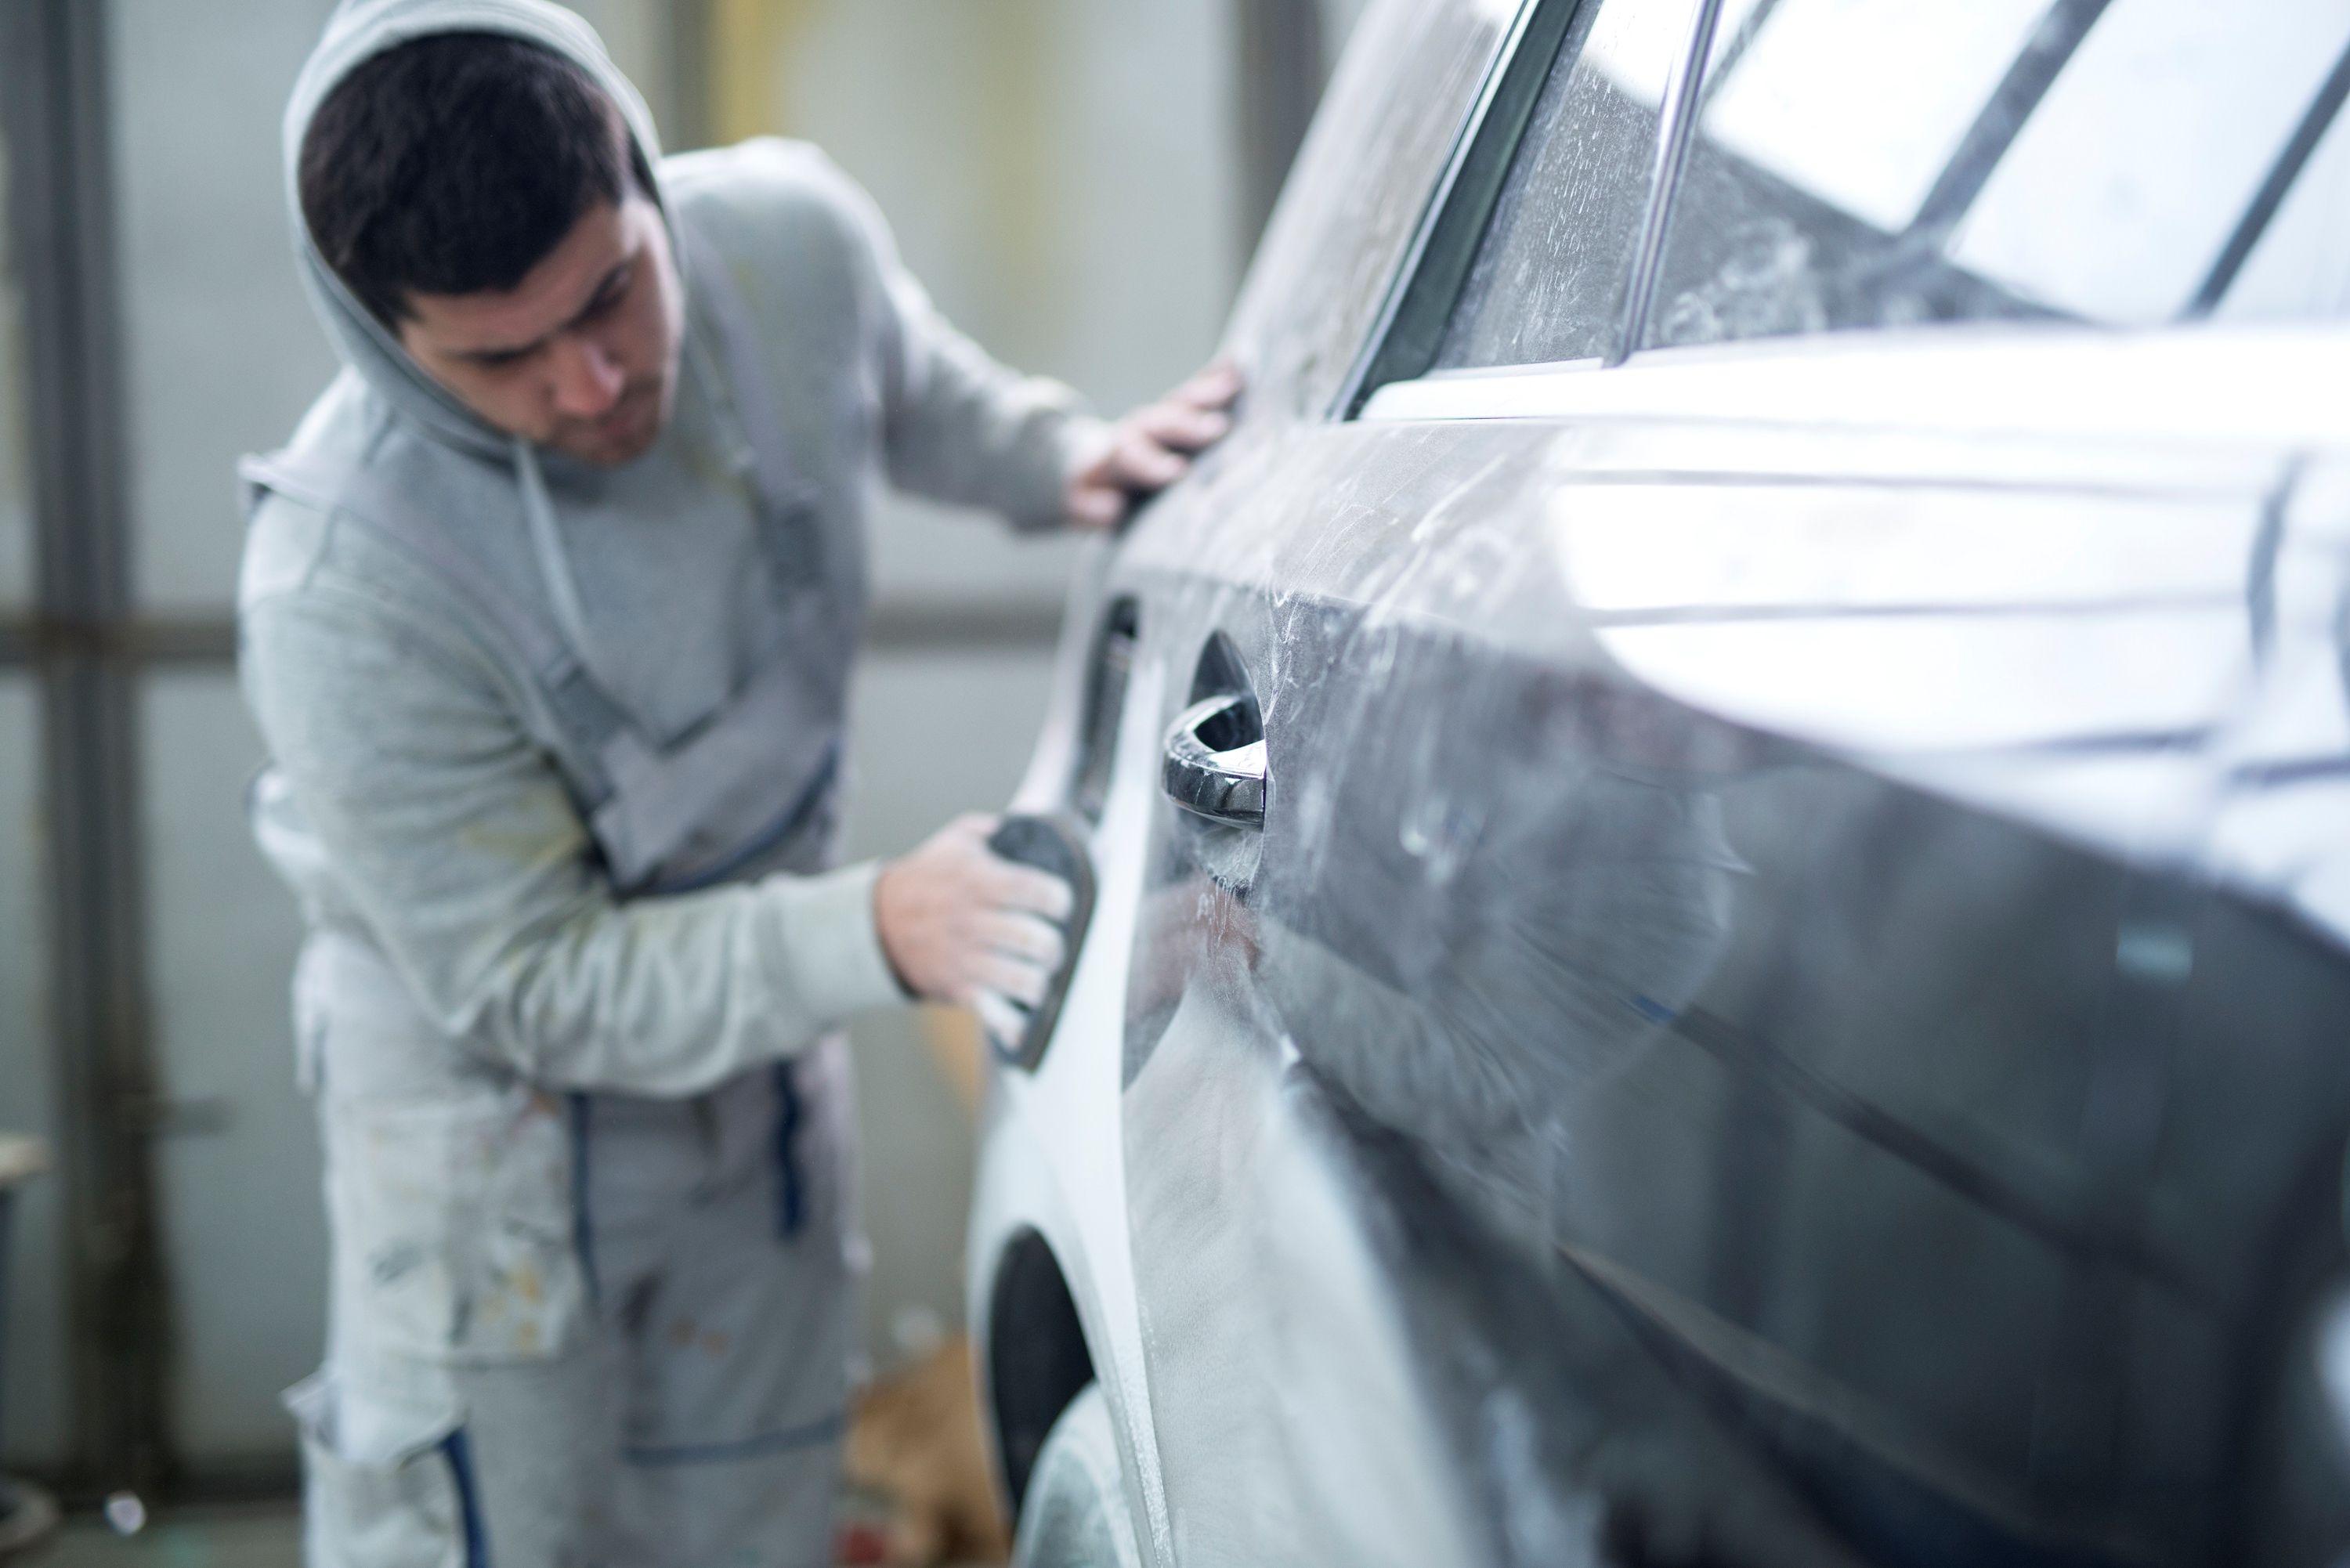
Sandpaper
A selection of sandpaper types with various grit ratings is ideal for wet-sanding or for removing the deepest of scrapes and scratches. 1,000, 2,000, and 3,000 grits are the most common and the ones you'll use most often, but even finer grits will be needed to remove hazing. Again, using abrasive materials such as this can do more damage if used incorrectly, so make sure you have professional guidance before attempting this at home.
Primer and Paint
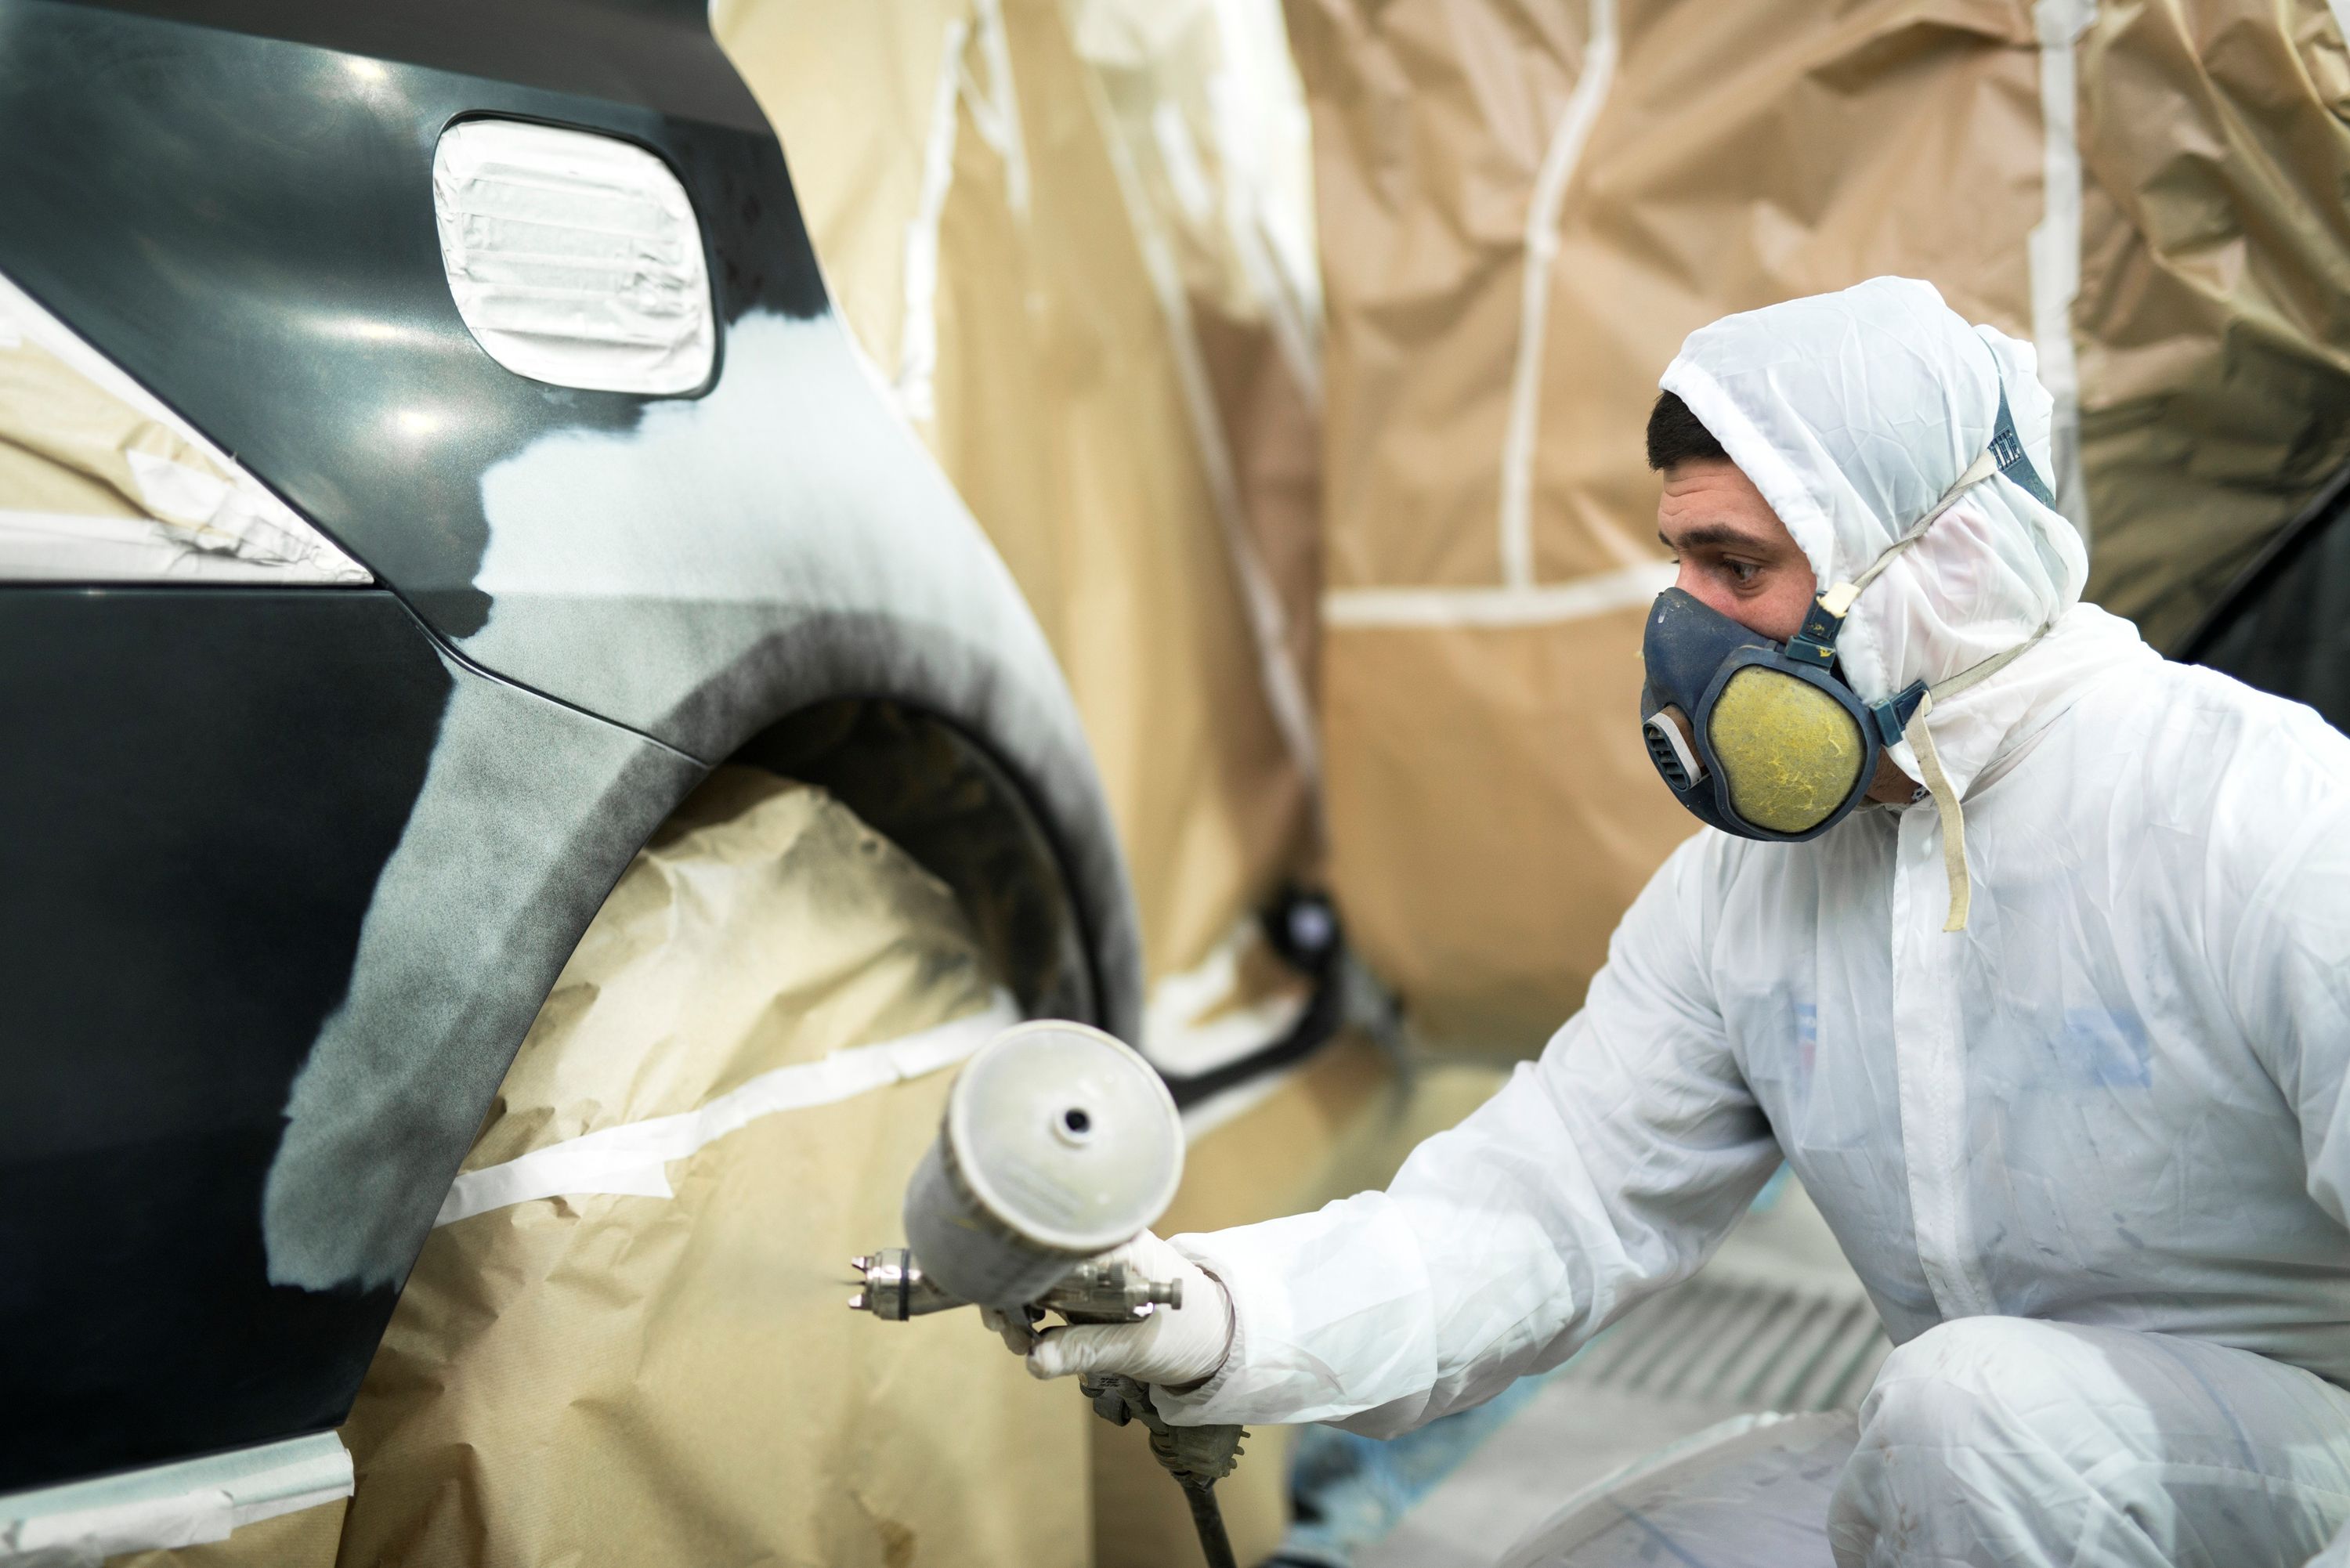
For more intensive repairs, those with the inclination can do a decent job at home with store-bought spray can primers and paints, but it is important to remember that it is impossible to replicate a factory finish without a spray booth and a spray gun. Automotive paint is also very different than household paint, so ensure you buy the right type and have someone on hand who knows how to make use of it properly, if you aren't clued up yourself.
Compressor
If you intend to do larger jobs or if you intend to spray items regularly, you'll need a spray gun and a compressor to run it. This compressor can also be helpful when it comes to blowing away flakes of paint, dirt, and other contaminants that could compromise the finish of your car. A hands-free dry of the car post-wash can also be very helpful in minimizing additional swirls and scratches.
Coatings
Waxes and ceramic coatings can help you maintain the finish of your paint following a repair and make new scratches easier to avoid. Natural waxes can be more expensive than synthetic ones, but these days, synthetics are actually better for your paint. Ceramic coatings require specific processes for application but last longer and create an additional, harder barrier between your paint and the elements. However, while waxes can be applied on top of ceramic, the reverse is not true.
How to Remove Scratches from Your Car’s Paint
Depending on the severity of the scratches, you will be employing different methods to rectify these issues. A light scratch on a car door will be rectified using different methods to those used to fix a deep scratch on the car. Below we will discuss how to remove minor scratches from a car and make suggestions on how to buff out bigger scratches on your car, too.
An easy way to tell how severe a scratch is is with the nail test. If your fingernail can "grab" or get "stuck" in a scratch, it is classified as a deep scratch. These cannot be removed with buffing and polishing. If you can't feel the scratch with your fingernail, then the scratch is light enough to be corrected. However, the depth of the paint can play a role, since polishing is literally the removal of a layer of surface paint. Thus, if there is too little paint remaining and you try to remove the scratch anyway, you could go down to bare metal or otherwise compromise the integrity of your paint finish. If there is plenty of paint, wet sanding can be resorted to instead of spraying.
Surface Scratches on Your Car
If there are superficial scratches to your paintwork, the following steps can be taken:
1. Preparation
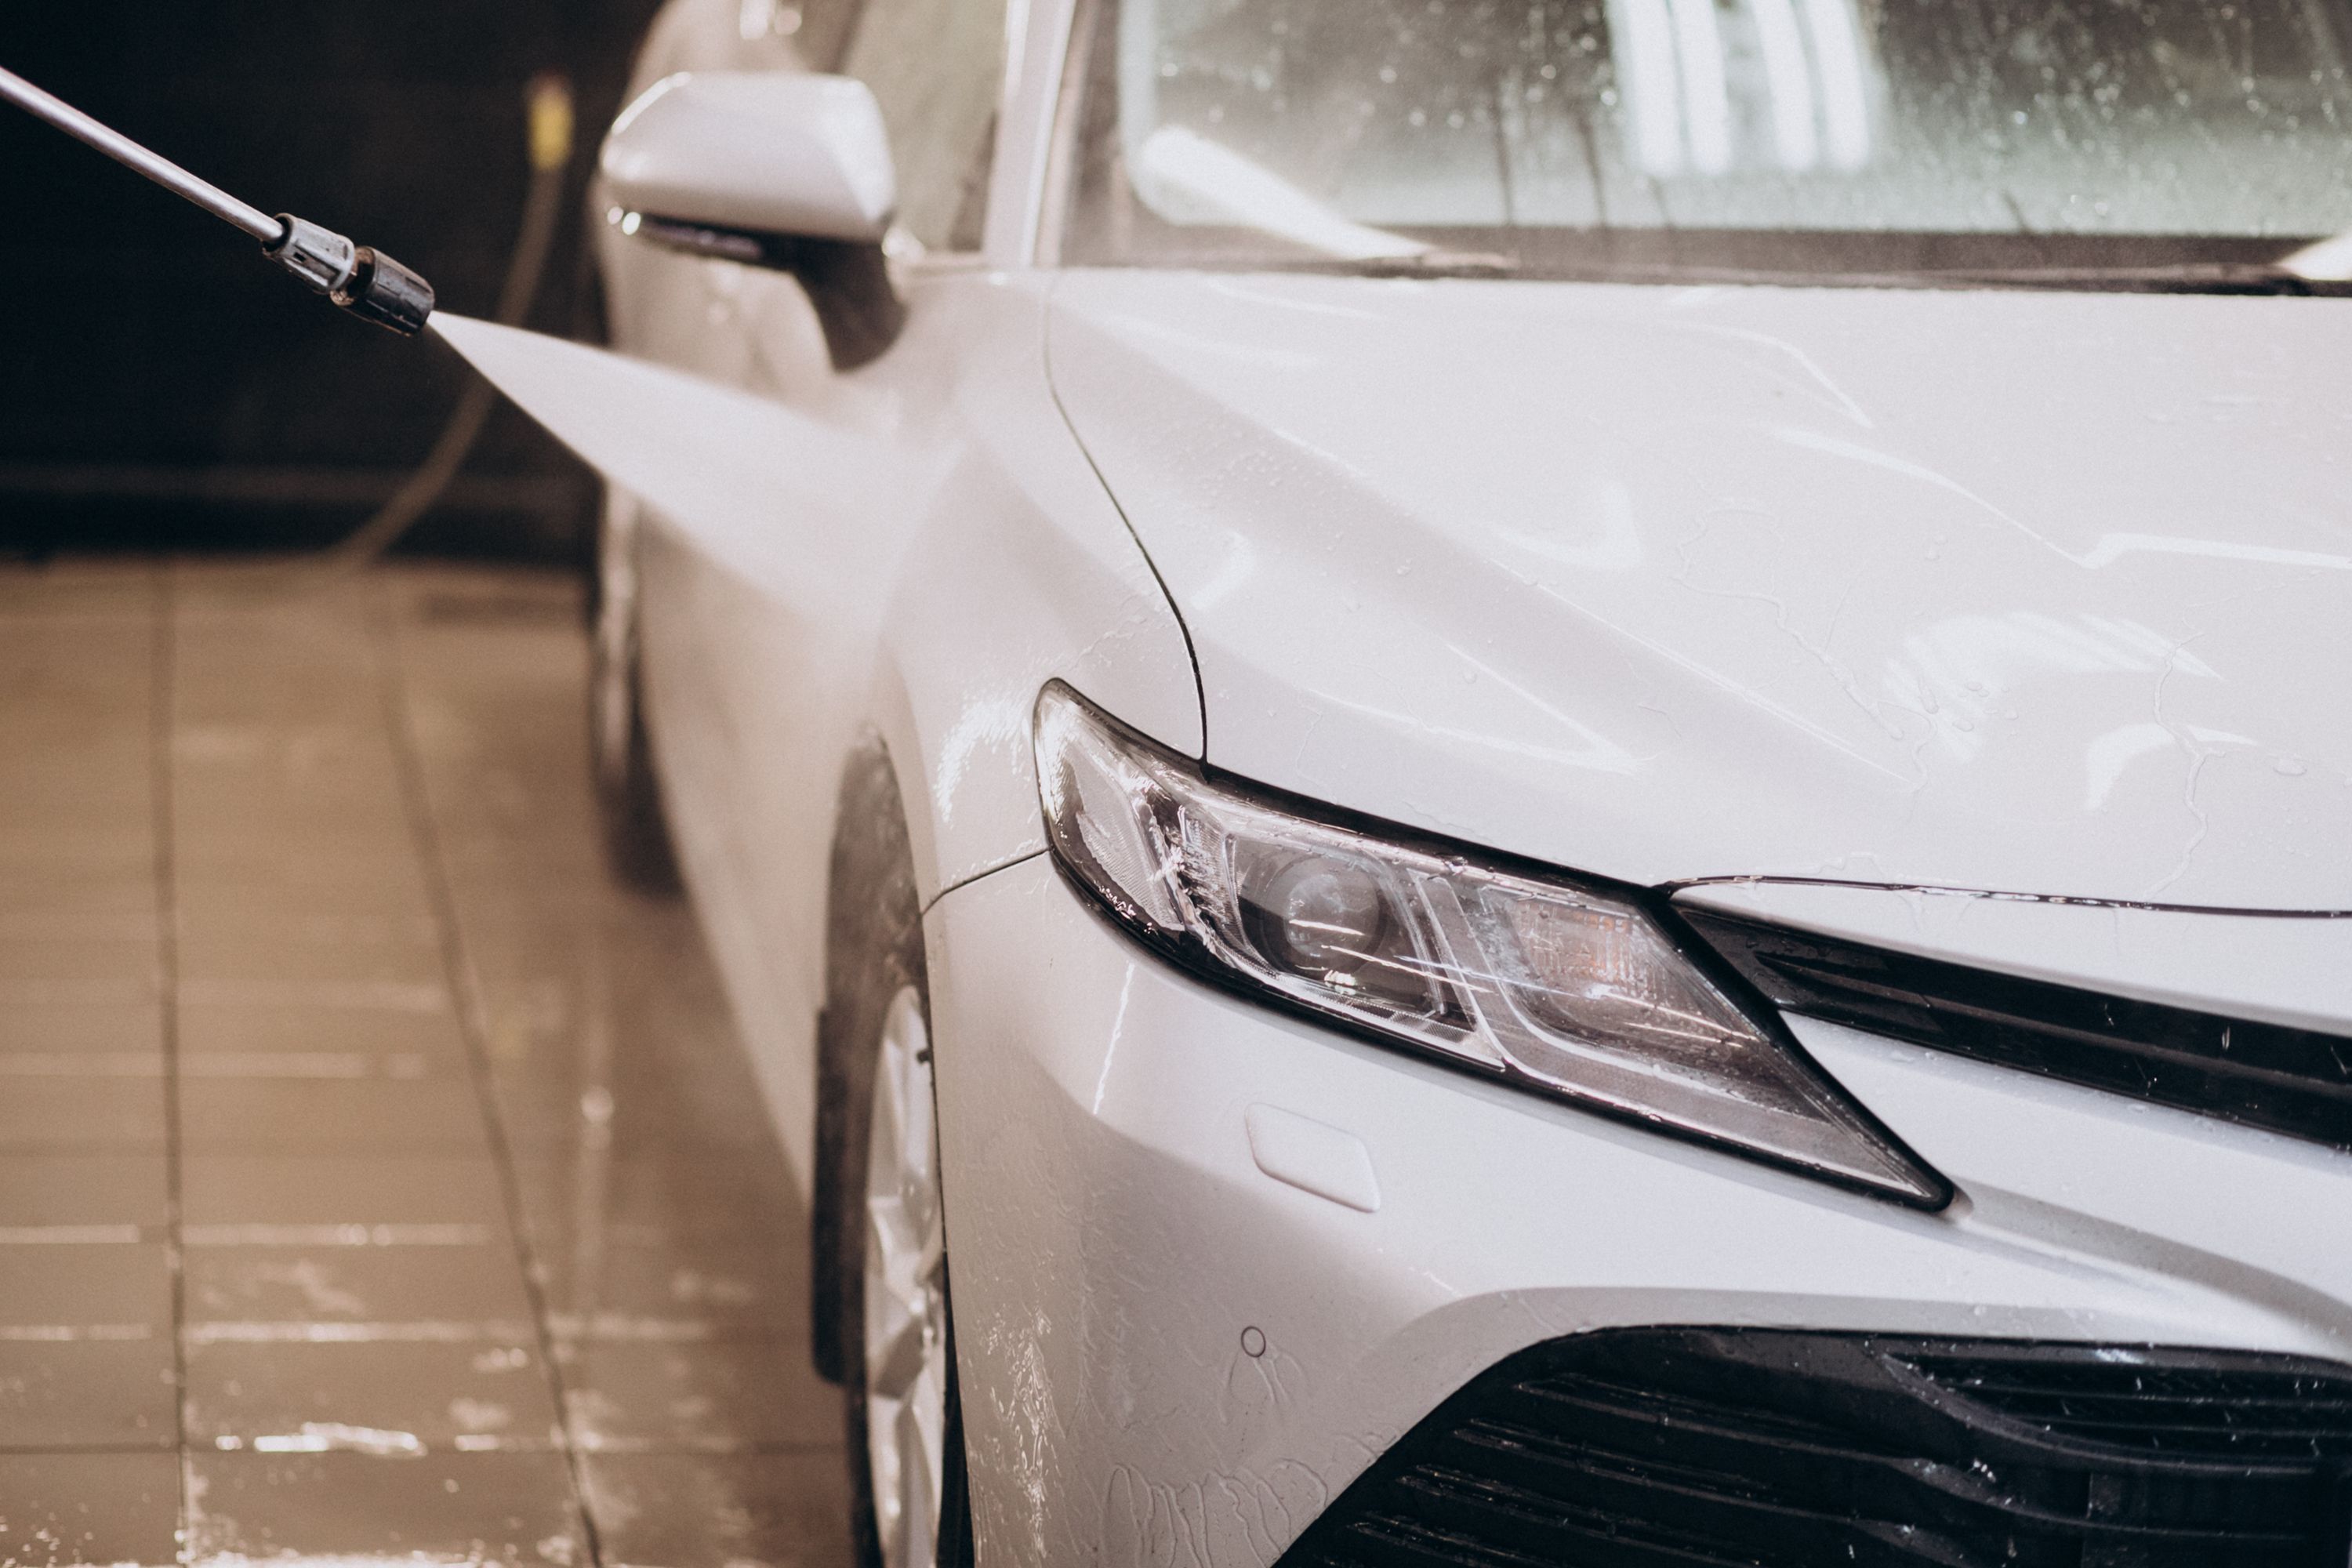
The first and most important part of correcting lightly scratched paint is to clean and prepare the paint. Carry out a thorough wash and dry of the affected surface. Then, it's time to use an iron remover to strip the paint of any car wax or unseen contaminants. Follow this with a claying of the paint surface. Next, wipe down the car paint with rubbing alcohol or isopropyl alcohol. Finally, use painter's tape to mask areas that you do not wish to correct. Using painter's tape specifically is important as the glue leaves little to no residue on removal.
2. Cutting
The first step in the process, commonly referred to as polishing, is actually cutting. This is where you'll use your polisher with its most aggressive, softest pad and the most abrasive compound. It is always best to test the combination on a small section of the car. Remember that you must let the polisher, pad, and compound do the work. Don't press down excessively hard, and clean the pad with a combination of the air compressor, water, and a microfiber cloth. If the combination of products is doing little to enhance the paint, move onto a different combo rather than trying to force the products to work. Also, remember that different manufacturers use different types of paint with different hardeners, so just because a combo works on one car does not mean that it will be effective on another. Once you determine what mix of polisher and paint does the most for removing old paint, you can proceed with the rest of the panel/car.
3. Buffing and Polishing
This may seem like the final part of the process, but you're far from done at this point. Once the cutting process has removed the "valley" of the scratch, you need to equalize the paint surface. Buffing and polishing the paint with a less aggressive pad and compound combo now reveals the fresh paint beneath the surface that you have just cut away. Now you can begin to polish up the paint on your way to a clear finish. This part of the process also helps with swirls and imperfections that the cutting phase has not sorted out or that the cutting process itself has caused. Don't worry if you still see swirls though - the next step is aimed at perfecting your paint.
4. Refining
Refining is also considered a type of polishing by many, but here you'll be using your firmest pad and your finest compound to remove the tiny swirls and scratches not visible under normal lighting conditions. Once you've achieved a mirror-like finish free of swirls, your paint is essentially perfect and now needs protection.
5. Coating
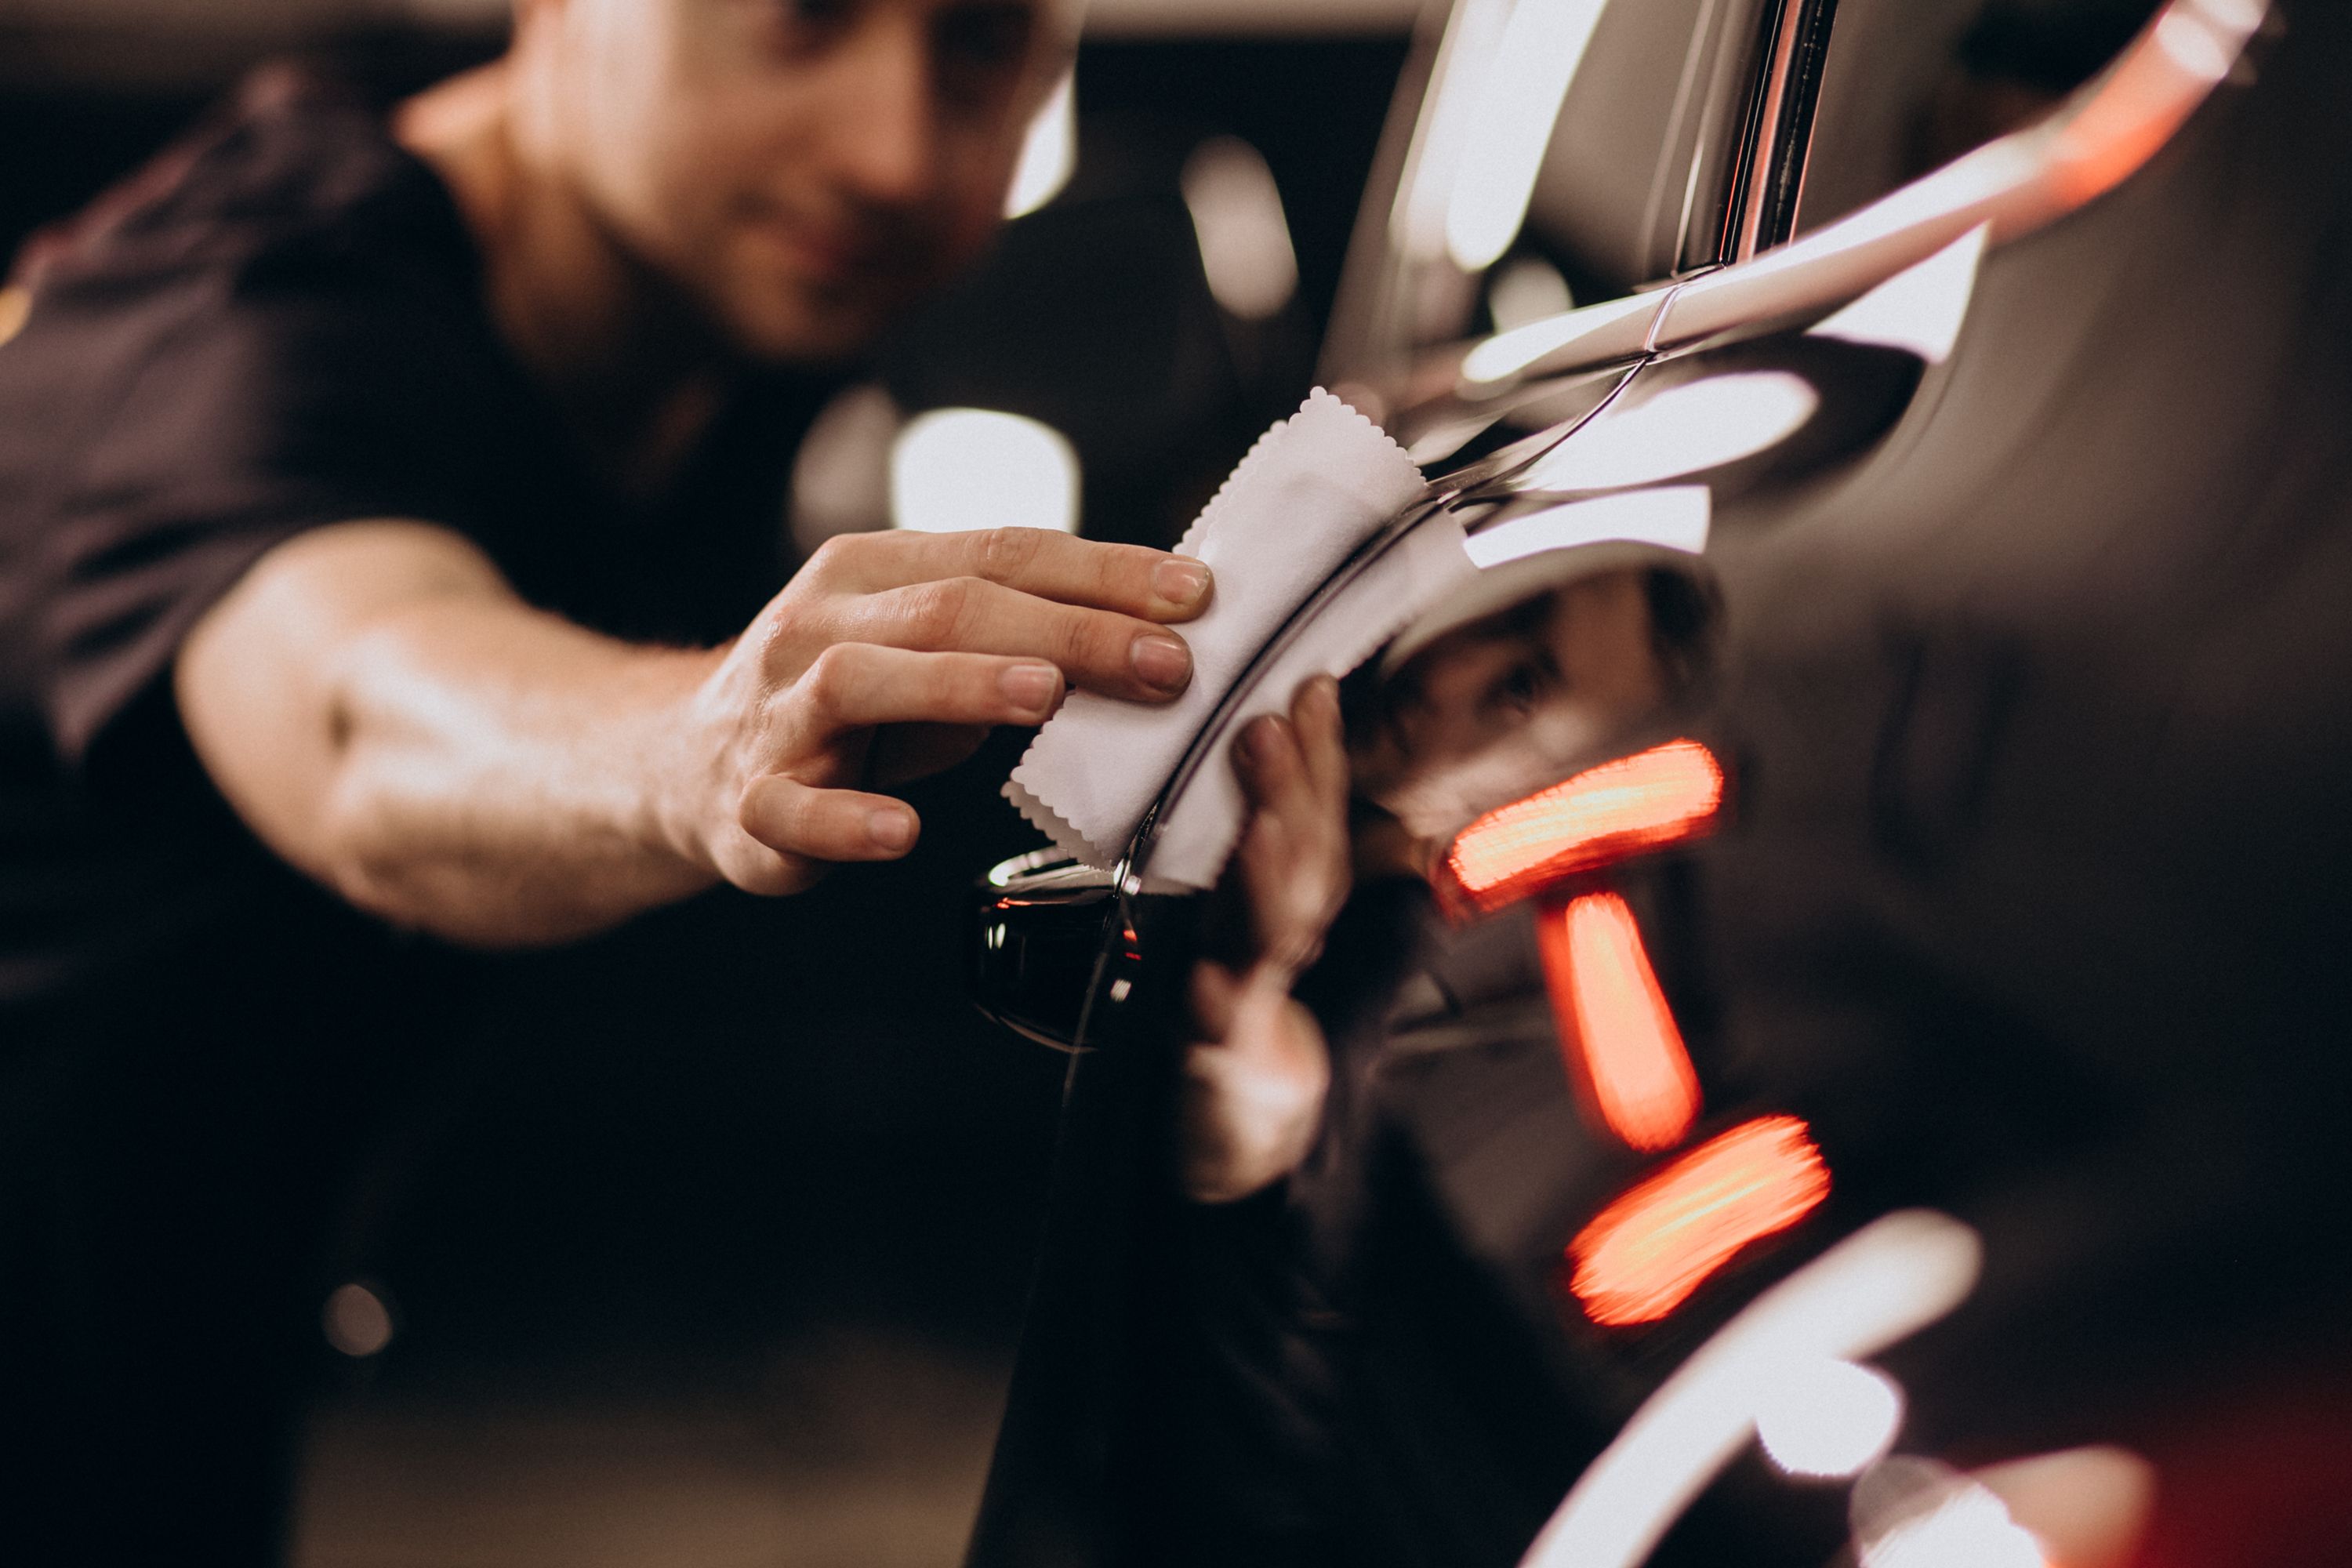
This step occurs once you've wiped away any polishing residue and other potential barriers that could prevent adhesion of the coating. Now it's time to apply a wax or other coating (like ceramic). Depending on the composition and chemical/natural makeup of the coating, you may need to leave the coating on for a while before buffing it off. Ceramic coatings have a very different application process to waxes, whether synthetic or natural. Thus, the application process will depend on the product. Whatever you go for, follow the manufacturer's recommendations. Do not skip this step, as leaving your paint exposed with no barrier between it and the elements/road debris will mean that you'll develop bigger scratches in greater numbers more often. Black cars are especially susceptible to clearly showing imperfections in the paint, so skipping this step will be obvious in the long run here.
How to Remove a Deep Scratch
While we do not recommend carrying out paint repairs from home without the correct tools and years of experience needed for a factory finish, there are some occasions where it does not seem viable to send a car into a professional workshop for a small abrasion. Removing deep scratches is really more about respraying the area. As always, preparation is key, and failing to follow steps timeously can result in a worse finish than when you started. Again, this is a basic guide and we always recommend having a professional resolve bigger issues like these.
1. Preparation
As with polishing light scratches away, you need to clean the surface that is affected by the large scratch(es) and surrounding areas to avoid issues post-painting. Rubbing alcohol on the car paint is helpful here too.
2. Sanding
Depending on the severity of the scratch, some medium-depth scratches can be removed by wet-sanding. This process involves keeping the sandpaper and paint surface wet to avoid causing more damage. However, you will need to be very careful to avoid any damage at all, and this is not something that we would recommend carrying out on a car that you're very fond of unless you have past experience. Sanding is also important for smoothing the surface before painting.
3. Masking
This is very important. Before any paint or primer can be applied, it is important to avoid allowing wind, rain, or sunlight anywhere near the car. Once the car is sufficiently insulated, you need to ensure that you don't get any unwanted overspray, so mask off windows, rubber, wheels, tires, and panels that you won't be painting.
4. Primer
Once the surface is flat (and if necessary, filled with body putty), it's time to lay some primer. You'll want to keep the spray pattern even and apply from side to side, avoiding excessive application so that you don't develop drip marks.
5. Base Coat
Once the primer has dried and set, you can examine it for any fisheyes or other imperfections. Should you be happy with the finish, it will then be time to lay some paint, in the same manner as the primer.
6. Top Coat
This is the layer that you want to make as perfect as possible, but that can only happen if the preceding steps have been followed and there are no imperfections in these other layers. Following the same spray technique used on the primer, remembering that less is more, you can now apply the top coat.
7. Clear Coat
This is the most important part of keeping your paint looking good. A clear coat is hardier and is designed to provide protection while adding gloss and shine. This must also be applied in a light, careful manner with a fluid spraying movement and even distribution.
8. Polishing
Assuming that your finish is now near perfect and free of fisheyes and orange peel, you can now follow the refining stage of polishing. Finish this up with a coating for protection and you're golden. Note: it is important to research how long the paint you have applied takes to cure. In some cases, this can be two weeks, but all gasses in the paint should have dissipated after around two months. It is important to try to avoid getting the car dirty, washing it unnecessarily, or otherwise affecting the paint during this period or you'll make more problems and can develop fisheyes long after the painting is complete. Obviously, if you have another way of curing the paint more quickly, then this can reduce waiting time, but such tools are not common in the average garage.
How to Hide a Scratch on a Car
If your car has a minor scratch that you can't be bothered to repair, or has damage that is too great to repair immediately, you can always cover it up temporarily. For example, you could add a decal over the damage, thus hiding it. However, unless the scratch is in a convenient location and is barely noticeable, a sticker will do little more than draw added attention to the problem. Others have used spray cans to create a graffiti-style mural over the entire car, turning it into automobile art and thus drawing so much attention to the paint and different colors that the damage is no longer obvious. Of course, most sane individuals would never consider extreme artwork on their cars, but whatever works for you to cover up a scratch on your car and helps you see your car in a more attractive light is a winning recipe.
What Does it Cost to Fix Scratches on Your Car?
So, what price can you expect to pay to repair a scratch? This depends on the severity of the damage, the type of paint (pearls and metallics are more expensive and more difficult to apply correctly), and the quality of the tools and consumables you'll be using. For detailing and removing light scratches, a basic kit with everything you need will cost a couple hundred dollars, while professional polishers alone can cost thousands. The same goes for things like car shampoos, waxes, paints, primers, spray guns, hardeners, thinners, and polishing pads. The more you pay, the better the quality you can expect.
That being said, buying the most expensive items doesn't guarantee a perfect result, so we always recommend visiting a professional if any real painting needs to be done. You'll spend more upfront, but will likely save yourself from redoing it over and over and learning through trial and error. In summary, the cost of buffing out scratches on a car can be extraordinarily high, but there are also things like a scratch removal kit for your car that contain waxes as well as polishes. These do-it-all products are generally useless on big jobs but can save you lots if the damage is minor, so shop around and you'll find a solution that you can easily afford.
Life Hacks
Not every little scratch and imperfection requires fancy equipment and materials to fix. A plain white toothpaste can be effective at polishing headlights and other plastics due to its abrasive qualities. However, nothing will be as effective as a purpose-made polish. We don't recommend a car scratch repair with toothpaste on your paint, however, as the chemicals therein can cause pH imbalances, additional swirling, and other issues. WD-40 or another water-displacing lubricant can also be used to remove scuff marks on a car, but again, you'll get better results with professional products that are dedicated to bringing out the best in your paint. Ultimately, there is no easy way to remove scratches from a car. Some life hacks often suggested include:
- Washing your car with dishwashing liquid
- Using pot scourers to clean your wheels
- Restoring headlights with toothpaste
This may seem like a cheap way to achieve the same results, but the damage these things can cause is not worth the saving. Use the right products, pay once, and you'll thank yourself in the future.

